

TL;DR:
- Proper surface preparation after washing involves removing oils, mold, and debris to ensure sealant bonds effectively. Waiting 24 to 48 hours and considering environmental conditions are crucial for successful application and long-lasting protection. Professional sealing services help homeowners avoid common mistakes, ensuring durable results that extend surface lifespan.
Most homeowners assume that pressure washing a surface is 90% of the job. Then they apply sealant the same afternoon, and within a few months, the surface is peeling, discoloring, or looking worse than before. Understanding what is sealant application after washing, and doing it correctly, is what separates a surface that stays protected for years from one that fails within a single season. This guide walks you through the exact preparation, timing, and technique you need to get it right the first time.
Table of Contents
- Key takeaways
- What is sealant application after washing
- Surface preparation after washing
- Timing and environmental conditions
- How to apply sealant step by step
- Post-application care and maintenance
- Why most DIY sealant jobs fail
- Get professional sealing done right
- FAQ
Key takeaways
| Point | Details |
|---|---|
| Preparation is everything | Cleaning alone is not enough; surfaces must be fully dry and contaminant-free before any sealant goes on. |
| Timing determines success | Wait 24 to 48 hours after washing before applying sealant to prevent moisture from ruining the bond. |
| Technique matters as much as product | Consistent pressure and proper tooling prevent flooding, drag marks, and adhesion failure. |
| Cure time is non-negotiable | Most sealants need 12 to 24 hours to cure before exposure to water or traffic. |
| Maintenance extends protection | Resealing on schedule and using proper cleaning methods keeps surfaces protected for years. |
What is sealant application after washing
Sealant application after washing is the process of applying a protective coating to a clean surface specifically after pressure washing or soft washing has removed dirt, mold, algae, and contaminants. The goal is to lock in the cleaned state and shield the surface from future damage. Think of it as the second half of a two-part job: washing opens the pores of the material, and sealing closes them back up with a protective layer.
This process applies to driveways, walkways, patios, pavers, decks, and even some siding materials. Each surface type responds differently, but the core logic is the same. A freshly washed surface is temporarily more vulnerable than a sealed one because it is exposed and porous. Sealing it correctly captures the benefit of that clean starting point and multiplies the lifespan of your results.
The confusion most people run into is treating washing and sealing as two separate, unrelated tasks. They are not. The quality of your sealant application depends almost entirely on how well you prepared the surface right after washing.
Surface preparation after washing
Here is the uncomfortable truth about substrate preparation: professionals say it accounts for 90% of sealant success. That means the product you buy matters far less than what you do before you open the can.
Pressure washing removes the visible layer of grime, but it does not automatically create a sealant-ready surface. You still need to address several things:
- Grease and oil stains. Pressure alone rarely lifts oil-based contamination. These need a degreaser applied and agitated before washing. If they remain, the sealant will not bond properly to those areas.
- Mold and mildew residue. Washing removes the bulk, but spores can stay embedded in porous surfaces. Apply a mold inhibitor or appropriate treatment before sealing, or you will trap active growth under the sealant.
- Efflorescence on concrete or pavers. This white, chalky mineral deposit forms on concrete and masonry. If you seal over it, you lock it in and the sealant will eventually flake.
- Loose particles and debris. After washing, check for sand, loose aggregate, or flaking old sealant. Brush or blow these off before applying anything new.
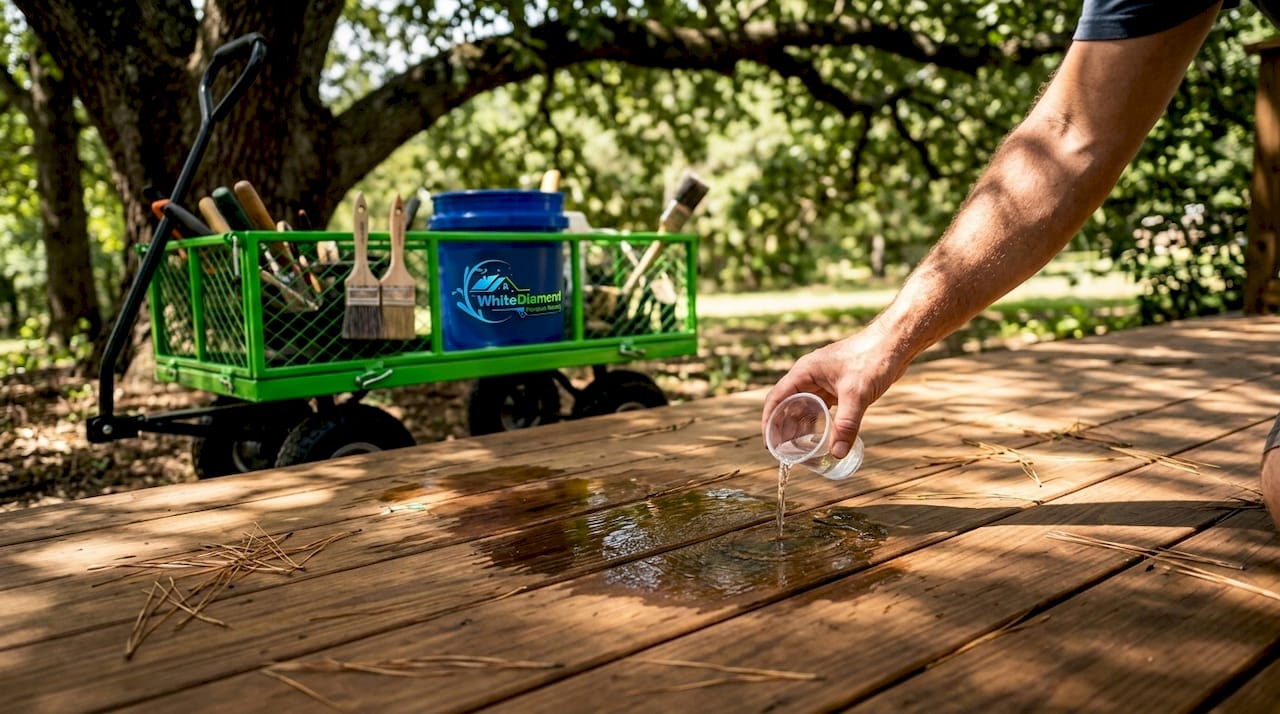
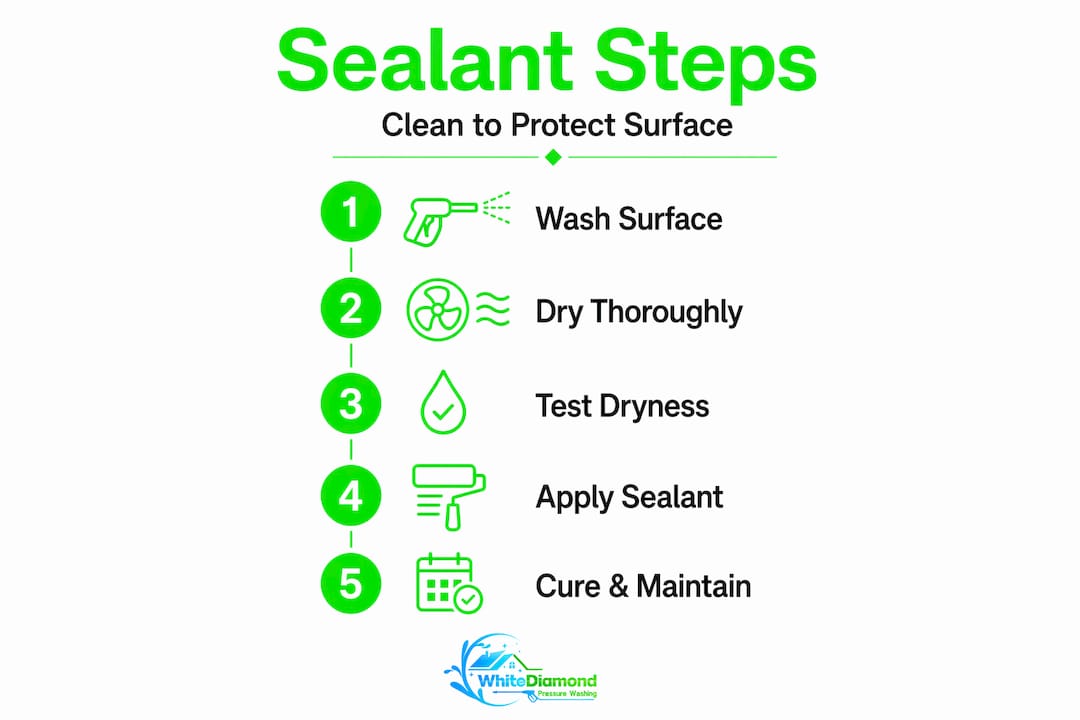
A water test is one of the most reliable ways to check if a surface is ready. Pour a small amount of water on the clean, dry area. If it beads up, old sealant or a contaminant is still present. If it absorbs quickly, the surface is open and ready to accept new sealant. Understanding common pressure washing mistakes ahead of time saves you from creating preparation problems before you even start.
Pro Tip: Run your hand firmly across the surface after it appears dry. If you feel a chalky or gritty residue, rinse again and let it dry completely. Sealing over residue is one of the leading causes of premature failure.
Timing and environmental conditions
Getting the timing right is where most DIY sealant jobs go wrong. Even when the surface looks and feels dry after washing, subsurface moisture can remain trapped beneath the top layer. Sealing over that trapped moisture means the sealant bonds to wet material, which weakens the bond and eventually causes bubbling or peeling.
The industry standard is to wait 24 to 48 hours after pressure washing before applying sealant. Here are the environmental conditions you should check before starting:
- Temperature. Sealant application works best between 50°F and 90°F. Below 50°F, the product cures too slowly and may not bond properly. Above 90°F, it can dry too fast, leaving streaks and uneven coverage.
- Rain. Avoid applying sealant if rain is forecast within 24 hours after application. Premature rain exposure breaks the chemical bond before it fully forms, reducing the sealant’s effective lifespan significantly.
- Direct sun. Applying sealant to a surface baking in direct afternoon sun can cause it to skin over before it penetrates properly. Work in the shade or during early morning when temperatures are cooler.
- Humidity. High humidity slows curing. Aim for moderate humidity levels and good air circulation when possible.
Pro Tip: Check a 48-hour weather forecast before you start washing. If rain is expected within two days, reschedule the project entirely. Starting the wash-and-seal process in the wrong weather window wastes both time and product.
How to apply sealant step by step
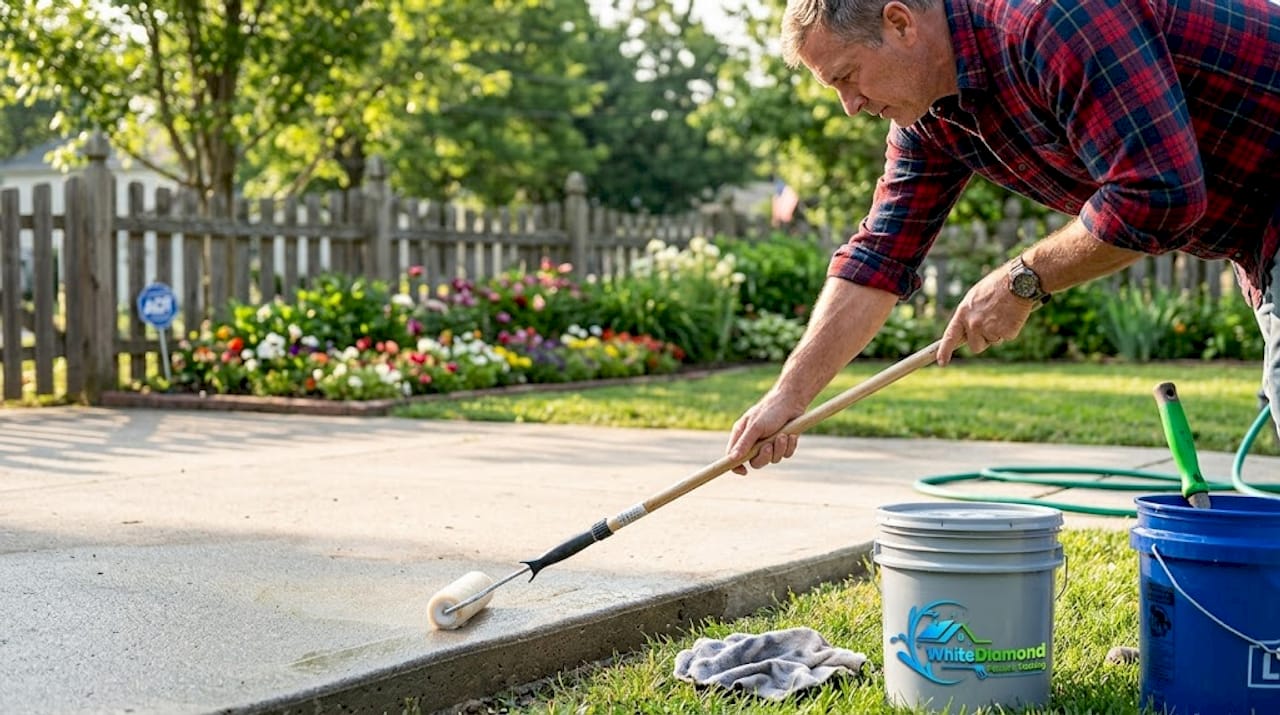
A proper sealant application process is methodical, not rushed. Here is how to do it correctly, from setup to finish:
- Gather your tools. You will need the appropriate sealant for your surface type, a pressure or caulk gun for joint sealants, a roller or sprayer for surface sealants, a brush for edges and corners, painter’s tape, and clean mixing sticks if using a two-part product.
- Mask off adjacent areas. Tape off edges next to grass, mulch beds, or other surfaces you do not want coated. Sealant overspray or drips are difficult to remove once cured.
- Purge your applicator. Before starting a bead or spray pass, purge the nozzle to clear any air pockets. Air pockets create voids in the sealant bead and compromise the seal.
- Apply with consistent pressure. Move at a steady pace, keeping the application tool at a consistent angle. For joint sealants, a 45-degree angle works well. For surface sealants, maintain an even distance from the surface throughout each pass.
- Tool the sealant immediately. For joint or gap sealants, use a wet finger or a tooling blade within the first 5 to 10 minutes. The skin window for silicone sealants is roughly 30 minutes, but drag marks form quickly if you wait too long.
- Avoid flooding. More sealant is not better. Excessive application traps air and weakens the bond. A thin, even coat gives better adhesion and durability than a thick one.
- Work in sections. Do not try to seal an entire driveway or patio in one continuous pass. Work in manageable sections so you can tool and finish each area before moving to the next.
For spray-on surface sealants, using a pressure washer to activate and distribute the product is especially effective. It prevents streaking caused by uneven hand-spraying and delivers a more uniform result. If you are sealing pavers or a concrete driveway, explore outdoor surface sealing techniques specific to those materials before you start.
Pro Tip: Release pressure on the gun before you stop moving the bead. Stopping while still pressing causes a blob of excess product at the end of each pass, which is hard to tool smooth and creates a visible flaw.
Post-application care and maintenance
Applying the sealant is not the final step. What you do in the hours and days afterward determines how long that protection actually lasts.
Most sealants require a cure time of 12 to 24 hours before they can handle water exposure or foot traffic. Industrial-grade products can take up to 72 hours. Rushing this window by walking on a sealed surface or exposing it to rain before it is cured can break the bond entirely, meaning you wasted both product and effort.
Here is how to maintain sealed surfaces over the long term:
- Clean gently. When washing a sealed surface again, use low pressure and a pH-neutral cleaner. Aggressive pressure washing or harsh chemicals can degrade the sealant layer prematurely.
- Inspect annually. Look for areas where the sealant is cracking, peeling, or where water no longer beads. These are signs the protection has worn thin.
- Reseal on schedule. A full service including sealant averages around $300, and reapplying every few years is far cheaper than repairing or replacing damaged surfaces.
- Avoid de-icing salts on sealed concrete. Salt accelerates sealant breakdown in cold climates and can pit the surface below.
Staying on top of your driveway maintenance schedule keeps sealed surfaces looking sharp and structurally sound for the long haul. Beyond aesthetics, proper sealing prevents moisture intrusion that leads to cracking, freeze-thaw damage, and costly repairs.
Why most DIY sealant jobs fail
I have seen a lot of sealant jobs go wrong, and almost none of them failed because of the product. They failed because of what happened before the sealant was ever opened.
In my experience, homeowners spend real money on a quality sealant, then rush through preparation because they want to finish the project in a single Saturday. They skip the 48-hour drying window. They seal in direct sun at 2 pm. They apply too much product because they assume more coverage means more protection. Then they are frustrated six months later when it starts peeling.
The counterintuitive truth I have learned is that patience is the actual skill here. Anyone can roll sealant onto a surface. Very few people wait long enough, check conditions carefully enough, and apply consistently enough to get results that last three to five years.
I also want to be direct about when professional help is worth it. If you are dealing with a large driveway, a pool deck, or commercial property surfaces, the margin for error gets expensive fast. Getting the preparation and application right the first time saves you from paying twice. Consulting professionals who do this daily is not a sign of defeat. It is a smart use of your budget.
— Bobby
Get professional sealing done right

Whitediamondpressurewashing takes the guesswork out of the entire process for homeowners and property managers in Citrus County and surrounding areas. From thorough pressure washing that creates a properly prepped surface to applying sealant under the right conditions with the right tools, the team handles every step with industry-approved methods and professional-grade products.
You do not have to worry about weather windows, surface moisture, or application technique when experienced professionals manage the job. Check out the full range of cleaning and sealing services Whitediamondpressurewashing offers, or visit the main site to get a free estimate and book a time that works for your schedule. Protect your investment the right way.
FAQ
What is sealant application after washing?
Sealant application after washing is the process of applying a protective coating to a freshly pressure-washed surface to lock out moisture, dirt, and damage. It works best when the surface is fully dry, clean, and free of contaminants.
How long should I wait after pressure washing to apply sealant?
Wait 24 to 48 hours after pressure washing before applying sealant. Even if the surface feels dry to the touch, subsurface moisture can still be present and will compromise sealant adhesion.
What temperature is best for applying sealant?
The ideal temperature range for sealant application is between 50°F and 90°F. Temperatures outside this range slow curing below 50°F and cause premature drying and streaking above 90°F.
How long does sealant take to cure after application?
Most surface sealants cure in 12 to 24 hours before they can handle water exposure or foot traffic. Industrial sealants may require up to 72 hours of cure time before full exposure.
How often should sealed surfaces be resealed?
Sealed driveways and outdoor surfaces typically need resealing every two to three years, depending on traffic, climate, and the type of sealant used. Annual inspections help you catch early signs of wear before damage sets in.
2 thoughts on “Sealant Application After Washing: A Homeowner’s Guide”