
More than 60 percent of American homeowners see surface damage due to improper exterior cleaning each year. In Citrus County, Florida, protecting your investments means finding gentle solutions that clean without harm. Whether you manage a busy household or several residential properties, learning how to assess, prep, and soft wash the right way keeps your home safe and looking fresh. This guide breaks down each step for effective cleaning that preserves curb appeal while avoiding costly repairs.
Table of Contents
- Step 1: Assess Surfaces And Protect Property
- Step 2: Prepare Equipment And Mix Solutions
- Step 3: Apply Cleaning Solution At Low Pressure
- Step 4: Allow Proper Dwell Time For Results
- Step 5: Rinse Thoroughly And Inspect Surfaces
Quick Summary
| Key Point | Explanation |
|---|---|
| 1. Assess Surfaces Before Cleaning | Examining surfaces for damage helps prevent further issues during soft washing. |
| 2. Use Proper Equipment and Solutions | Gathering the right tools and mixing cleaning solutions accurately ensures effective and safe cleaning. |
| 3. Apply Cleaning Solutions at Low Pressure | Distributing the solution at a low pressure minimizes surface damage while maximizing cleaning efficiency. |
| 4. Allow Adequate Dwell Time | Giving the cleaning solution time to work ensures it effectively breaks down contaminants. |
| 5. Rinse Thoroughly and Inspect | A systematic rinse and careful inspection confirm that all residues are removed for optimal results. |
Step 1: Assess Surfaces and Protect Property
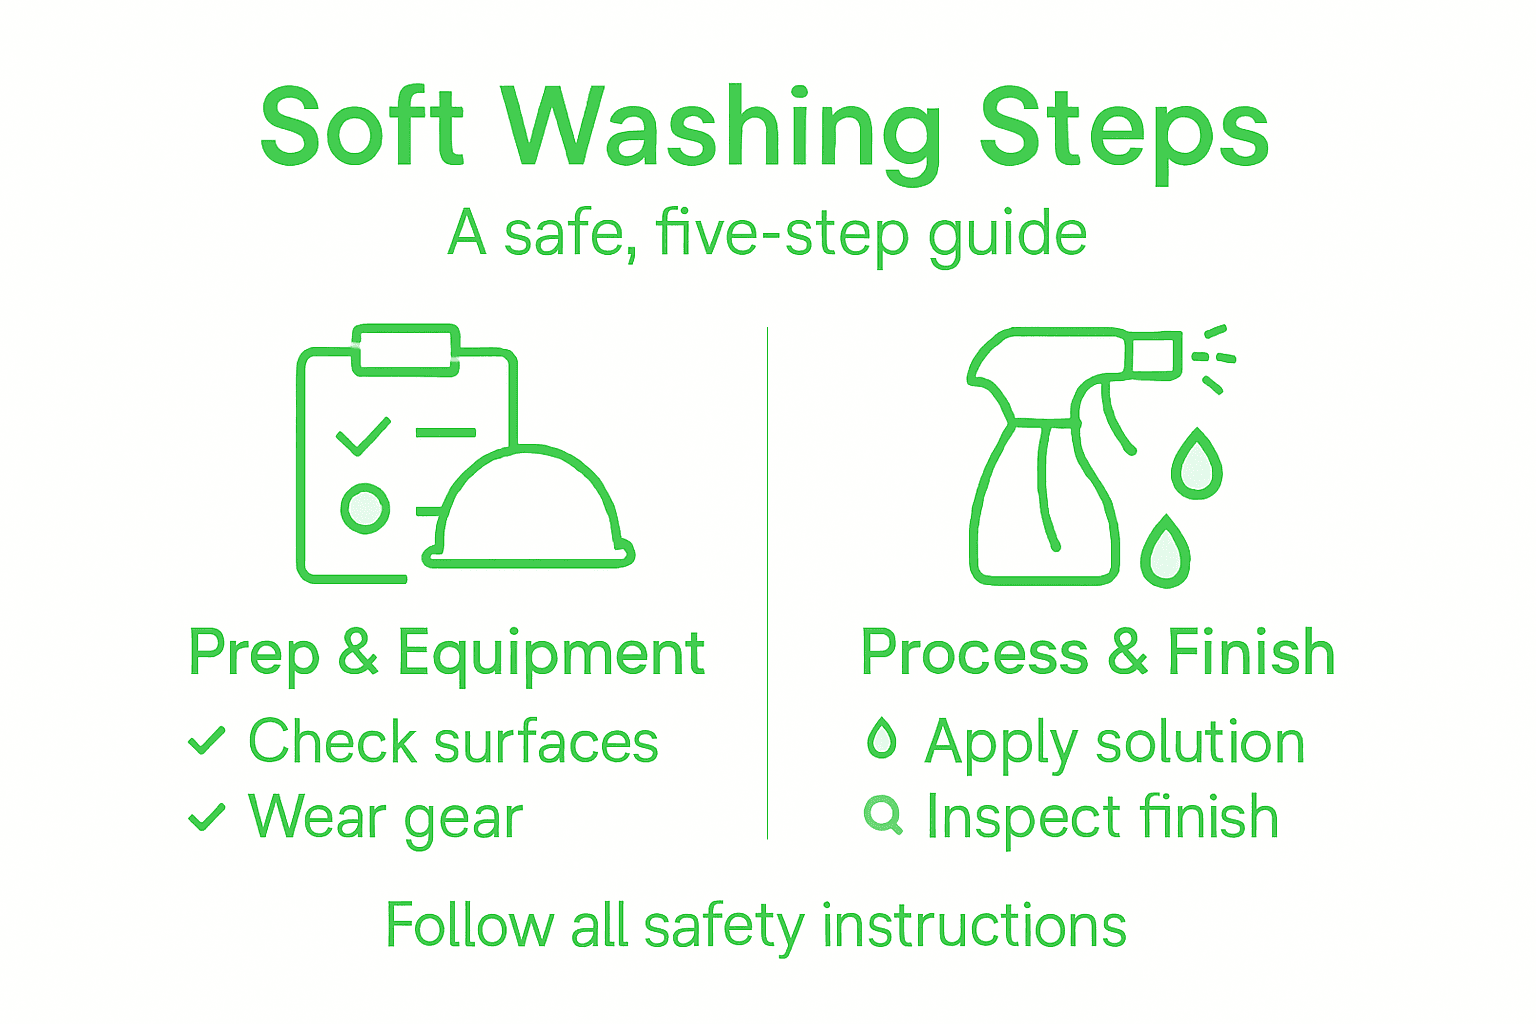
Before starting your soft washing process, a thorough surface assessment helps prevent potential damage and ensures optimal cleaning results. Understanding the unique characteristics of each surface will guide your approach and protect your property from unnecessary wear.
Start by carefully examining the exterior surfaces for signs of existing damage, such as loose paint, cracked siding, or fragile areas. Surface safety assessment requires a systematic approach where you visually inspect and gently probe different materials. Pay special attention to wooden decks, vinyl siding, stucco, and roof shingles. Note any areas with mold, mildew, algae growth, or previous water damage that might require extra care during soft washing.
Preparing the surrounding property is equally crucial. Remove or cover sensitive items like outdoor furniture, potted plants, electrical fixtures, and decorative elements. Use plastic sheeting or drop cloths to protect windows, doors, and landscaping from potential overspray. Seal any open electrical outlets and cover air conditioning units to prevent water intrusion. Block storm drains and create containment zones to prevent environmental contamination from cleaning solution runoff.
Pro tip: Photograph the area before cleaning to document initial conditions and help identify any pre-existing damage that could be mistaken for cleaning related issues.
Here’s a summary comparing common exterior surfaces and their specific soft washing concerns:
| Surface Type | Typical Issues | Precaution During Soft Washing |
|---|---|---|
| Wood Decks | Mold, rot, softness | Use gentle pressure and mild solution |
| Vinyl Siding | Algae, mildew | Avoid streaking, protect seams |
| Stucco | Cracks, fragility | Use wide spray and monitor closely |
| Roof Shingles | Algae, lifting | Apply low pressure, avoid water seepage |
Step 2: Prepare Equipment and Mix Solutions
Preparing the right equipment and mixing the correct soft washing solutions is crucial for achieving a safe and effective cleaning process. This step requires careful attention to detail and precision to protect your property while delivering outstanding results.
Start by gathering all necessary equipment including a soft washing system, appropriate nozzles, safety gear, and protective clothing. Select cleaning solutions specifically designed for soft washing that are compatible with the surfaces you will be cleaning. Cleaning solution preparation involves understanding the proper chemical concentrations and water quality requirements. For residential soft washing, this typically means using specialized low pressure cleaning solutions that are biodegradable and safe for different surface materials like vinyl siding, wood, stucco, and roof shingles.
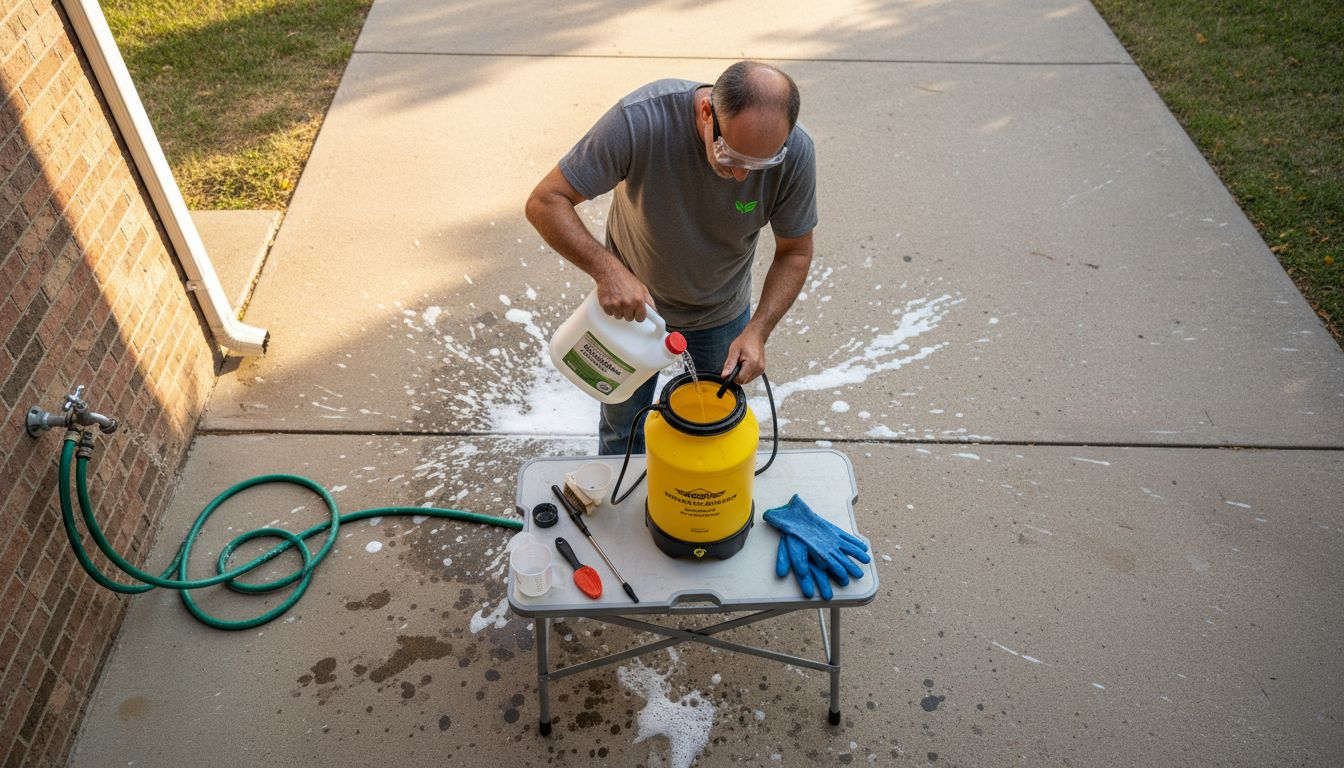
Carefully measure and mix your cleaning solutions according to manufacturer recommendations. Most soft washing solutions require precise dilution ratios to ensure effectiveness without causing damage. Use lukewarm water and mix thoroughly, ensuring even distribution of chemicals. Pay close attention to equipment cleaning standards that emphasize the importance of temperature, agitation, and contact time. Test your mixture on a small inconspicuous area first to confirm compatibility and effectiveness.
Pro tip: Always wear protective gloves and eyewear when mixing cleaning solutions, and keep a water source nearby for immediate rinsing in case of accidental chemical contact.
Step 3: Apply Cleaning Solution at Low Pressure
Applying cleaning solutions at low pressure requires precision, technique, and a careful approach to protect your property’s surfaces while effectively removing dirt, grime, and biological growth. This critical step determines the success of your entire soft washing process.
Low pressure washing techniques are designed to minimize surface damage and environmental impact. Begin by setting your soft washing system to the lowest possible pressure setting that still allows effective solution distribution. Hold the spray nozzle approximately 18 to 24 inches away from the surface, using a wide fan spray pattern to ensure even coverage. Work systematically from bottom to top in overlapping sections, allowing the cleaning solution to dwell on the surface for 5 to 10 minutes without letting it dry completely. This approach helps break down contaminants while preventing streaking or uneven cleaning.
Careful chemical application involves understanding gentle washing processes that balance cleaning effectiveness with surface protection. Monitor the solution as it works, watching for signs of dirt lifting and ensuring complete but not excessive coverage. Different surfaces like vinyl siding, wood, stucco, and concrete may require slightly different dwell times and solution concentrations. Always start in an inconspicuous area to test the solution’s effectiveness and compatibility with the specific surface material.
Pro tip: Work in small sections and maintain a consistent distance and angle with your spray nozzle to prevent accidental surface damage or uneven cleaning.
Step 4: Allow Proper Dwell Time for Results
After applying your soft washing solution, allowing the proper dwell time is critical for achieving thorough and effective cleaning. This waiting period enables the cleaning chemicals to break down dirt, mold, algae, and other contaminants without damaging your property’s surfaces.
Chemical reaction timing plays a crucial role in soft washing success. Different surfaces and types of grime require varying dwell times typically ranging from 5 to 15 minutes. Watch the surface carefully during this period observe how the cleaning solution interacts with dirt and biological growth. You will notice the solution starting to foam and lift contaminants away from the surface. Avoid letting the solution dry completely, which can leave residue or potentially damage the material. If the surface begins to look dry, lightly mist with water to keep the cleaning solution active.
Understanding optimal process duration means paying attention to environmental conditions like temperature and humidity. Warmer temperatures can cause solutions to dry faster, potentially requiring shorter dwell times or more frequent misting. Cooler temperatures might necessitate slightly longer waiting periods. Always monitor the surface closely and be prepared to adjust your technique based on how quickly the solution is working and the specific characteristics of the area you are cleaning.
Pro tip: Keep a spray bottle of water nearby to lightly mist the surface and prevent premature drying during the dwell time, ensuring maximum cleaning effectiveness.
Step 5: Rinse Thoroughly and Inspect Surfaces
Rinsing and inspecting your surfaces is the crucial final stage of soft washing that ensures a pristine clean and verifies the effectiveness of your cleaning process. This step transforms your hard work into visible, satisfying results that protect and beautify your property.
Surface cleaning protocols require systematic and careful rinsing to remove all cleaning solution residue. Use a low pressure water stream set at a consistent angle, working from top to bottom to prevent streaking and ensure complete solution removal. Pay close attention to corners, edges, and textured areas where cleaning solution can accumulate. Move methodically across the surface, keeping the spray moving to prevent water pooling or potential damage.
Surface inspection techniques are critical for verifying cleaning effectiveness. After rinsing, step back and visually examine the entire surface in different lighting conditions. Look for any remaining dirt patches, streaks, or areas that might need additional attention. Check for uniform coloration and cleanliness, ensuring that all biological growth like mold, algae, or mildew has been completely removed. If you notice any spots that require additional treatment, you can spot clean those specific areas without repeating the entire soft washing process.
Pro tip: Use natural sunlight or bright indirect light to help you spot any missed areas or residual cleaning solution during your final surface inspection.
This table outlines key soft washing steps and their main objectives:
| Step | Main Purpose | Tip for Effectiveness |
|---|---|---|
| Assess & Protect Surfaces | Prevent damage and overspray | Document pre-existing conditions |
| Prepare Equipment & Solution | Ensure safe, effective cleaning | Test mixture before full use |
| Low Pressure Application | Safely distribute cleaning solution | Work in small overlapping areas |
| Dwell Time | Allow chemicals to break down grime | Mist surface to prevent drying |
| Rinse & Inspect | Remove residue and verify results | Inspect under good lighting |
Protect Your Property with Expert Soft Washing from White Diamond Pressure Washing
Understanding the detailed soft washing process highlights the importance of gentle low pressure techniques and precise chemical application to safeguard your home’s surfaces from damage. If you are concerned about protecting delicate materials like wood, vinyl siding, or stucco while removing mold and grime effectively, relying on experienced professionals can eliminate the guesswork and risk.
Our team at White Diamond Pressure Washing specializes in safe, industry-approved soft washing methods tailored to meet your unique property needs. We focus on thorough surface assessments, careful solution preparation, and proper dwell times to ensure deep cleaning without harm. You can trust us to treat your home with the utmost care and deliver outstanding results every time.

Take the first step toward restoring your exterior safely by visiting our booking page to schedule your service or get a free estimate. Don’t let stubborn algae and dirt damage your property. Experience the difference of professional soft washing done right today.
Frequently Asked Questions
What is the soft washing process?
Soft washing is a gentle cleaning method that uses low pressure to apply cleaning solutions, effectively removing dirt, algae, and other biological growth from various surfaces. To start, assess the surfaces to identify any potential issues before applying the solution with a soft washing system.
How do I prepare surfaces for soft washing?
Begin by assessing all exterior surfaces for damage, such as cracks or loose paint. Remove or cover any sensitive items nearby, like outdoor furniture and potted plants, to protect them from overspray.
What equipment is needed for soft washing?
Essential equipment includes a soft washing system, appropriate nozzles, safety gear, and protective clothing. Ensure you also have the right cleaning solutions specifically designed for soft washing to avoid damaging your surfaces.
How long should I let the cleaning solution dwell?
Allow the cleaning solution to sit on surfaces for 5 to 15 minutes, depending on the type of grime and surface material. Monitor the surface during this time and mist with water if it begins to dry out to maintain cleaning effectiveness.
How should I rinse after soft washing?
Rinse surfaces thoroughly using a low pressure water stream, moving from top to bottom. Ensure you inspect the area for any remaining cleaning solution or dirt, making sure to clean any missed spots before finishing the job.
Why is surface inspection important after soft washing?
Inspecting surfaces after rinsing verifies the effectiveness of the cleaning process. Look for missed areas or residual cleaning solution to ensure the final outcome meets your expectations and protects your property.
Recommended
- 7 Practical Examples of Soft Washing for Homeowners – white-diamond-pressure
- Pressure Washing vs. Traditional Cleaning: What to Consider – white-diamond-pressure
- Transform Your Home: Benefits of Low-Pressure House Washing – white-diamond-pressure
- What Is Pressure Washing and Why It Matters – white-diamond-pressure
10 thoughts on “Soft Washing Process Explained: A Step-by-Step Guide for Safety”