Cracked pavement, oil stains, and faded surfaces make your driveway look neglected and reduce property value. Many Citrus County homeowners face these issues without realizing that driveway sealing offers a cost-effective solution. This guide explains what driveway sealing is, how it protects your investment, and practical steps to maintain your driveway for years ahead. You’ll learn timing strategies, material options, and application techniques that preserve curb appeal while preventing expensive repairs.
Table of Contents
- Introduction To Driveway Sealing
- How Driveway Sealing Protects Your Pavement
- When And How Often To Seal Your Driveway
- Materials And Sealers Used In Driveway Sealing
- Preparation Steps Before Sealing Your Driveway
- Common Misconceptions About Driveway Sealing
- Sealing Application Best Practices And Tips
- Conclusion And Practical Recommendations For Citrus County Homeowners
- Protect Your Citrus County Driveway With Professional Sealing And Cleaning
Key takeaways
| Point | Details |
|---|---|
| Definition and purpose | Sealcoating creates a protective barrier on asphalt or concrete that blocks moisture, UV rays, and chemicals while enhancing appearance. |
| Protection benefits | Sealing prevents water infiltration, freeze-thaw damage, oxidation, and chemical stains that cause cracking and deterioration. |
| Timing guidance | New driveways need 6 to 12 months curing before first sealing; reseal every 2 to 3 years depending on wear. |
| Material options | Asphalt emulsions diluted with water offer environmentally safer alternatives; coal-tar products pose health risks and are less recommended. |
| Application essentials | Apply two thin coats during moderate weather; proper cleaning and crack repair before sealing ensure durability. |
Introduction to driveway sealing
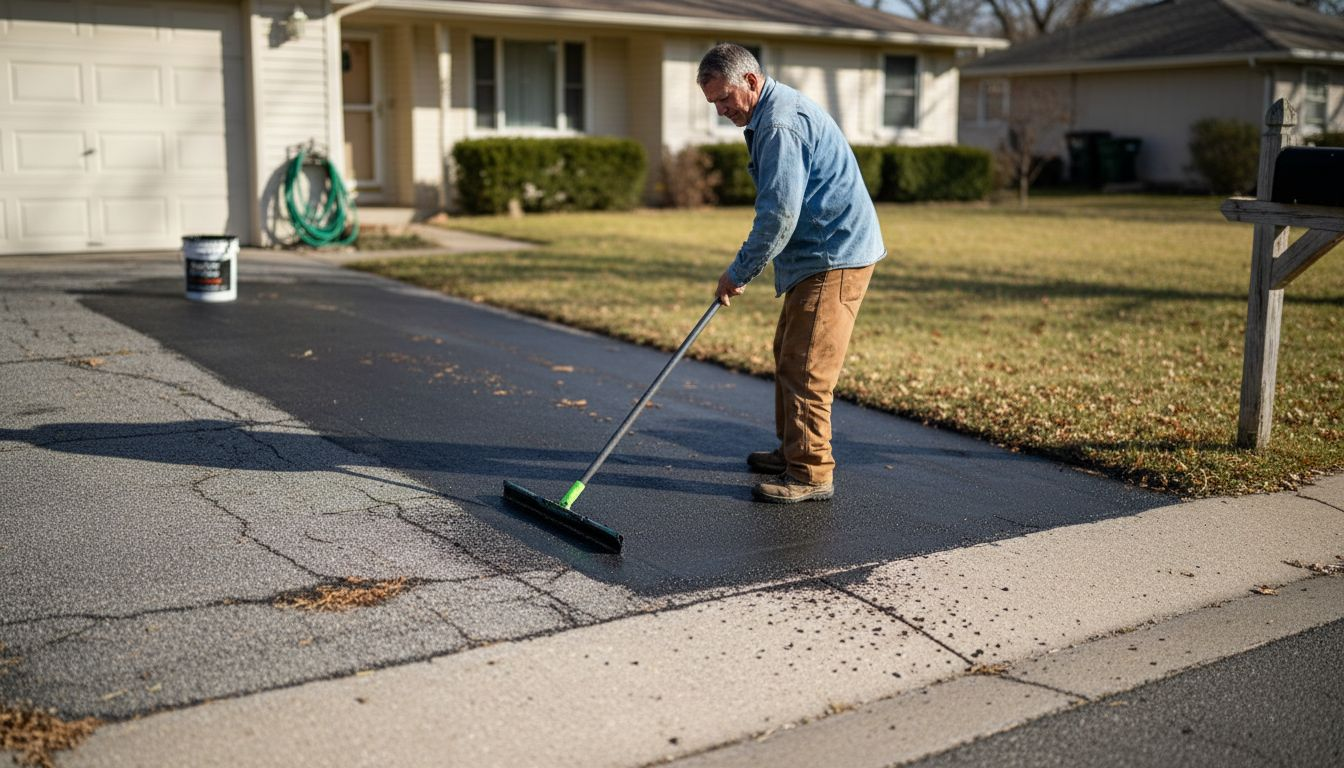
Driveway sealing, also called sealcoating, involves applying a protective layer to asphalt or concrete surfaces. This coating shields pavement from environmental threats that accelerate wear. Understanding this process helps you make informed maintenance decisions.
The primary purpose of sealing is protecting your driveway from water penetration, ultraviolet radiation, petroleum products, and chemical spills. These elements break down pavement binders over time, causing surface degradation. Sealing creates a barrier that extends driveway lifespan significantly.
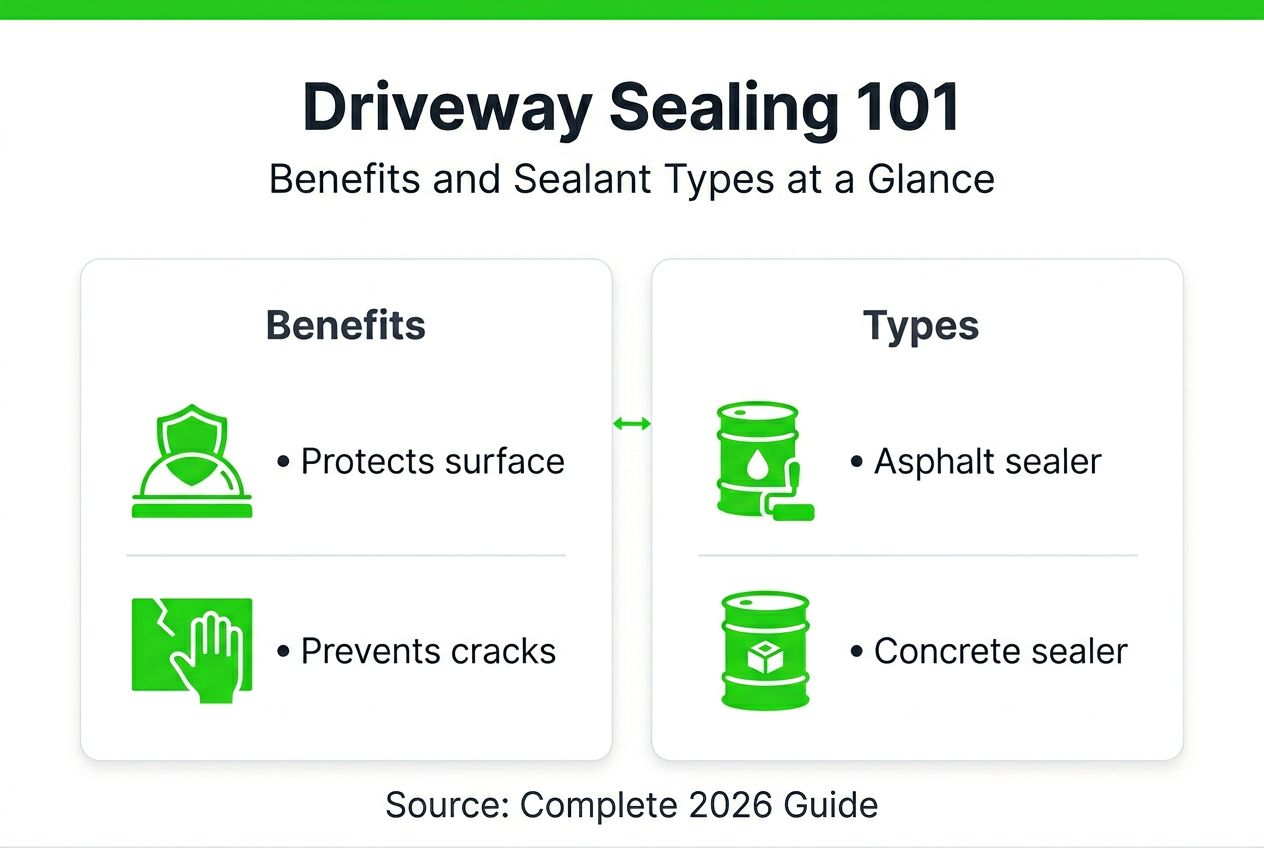
Homeowners gain multiple benefits from regular sealing:
- Increased pavement longevity by preventing premature deterioration
- Enhanced visual appeal through a fresh, uniform dark finish
- Reduced long-term repair costs by addressing wear before major damage occurs
- Elevated property value from improved curb appeal
- Protection against water damage that leads to expensive reconstruction
Both asphalt and concrete driveways benefit from sealing, though each requires specific sealant formulations. Asphalt sealers typically use emulsion-based products, while concrete needs specialized penetrating sealers that prevent moisture absorption and staining.
The visual transformation after sealing is striking. Faded gray asphalt regains its deep black color, creating a clean, well-maintained appearance. This aesthetic improvement signals proper home care to visitors and potential buyers.
Sealing represents preventive maintenance rather than a permanent fix. The protective layer wears away through traffic and weather exposure, requiring periodic renewal. Regular driveway cleaning between sealing applications maintains surface condition and extends seal effectiveness. Proactive homeowners who schedule consistent sealing avoid the stress and expense of major pavement failures down the road.
How driveway sealing protects your pavement
Water poses the greatest threat to driveway integrity. When moisture infiltrates pavement and freezes, it expands and creates cracks. Repeated freeze-thaw cycles widen these cracks into potholes. Sealing blocks water penetration at the surface level, preventing this destructive cycle from starting.
Ultraviolet radiation from sunlight causes oxidation in asphalt binders. This chemical process makes pavement brittle and prone to cracking. Over time, oxidized asphalt loses its flexibility and structural integrity. Sealcoating slows oxidation by reflecting UV rays and maintaining binder elasticity.
Chemical exposure from vehicle fluids damages pavement composition. Oil, gasoline, and transmission fluid dissolve asphalt binders, creating soft spots and surface deterioration. Quality sealants resist petroleum products, preventing these chemicals from penetrating the pavement structure. This resistance is crucial for driveways that regularly experience vehicle leaks.
Surface degradation occurs when aggregate particles separate from binder material, a process called raveling. This leaves rough, uneven surfaces that accelerate further damage. Sealing fills small surface voids and holds aggregate in place, maintaining a smooth driving surface.
The protective mechanisms of sealing work together:
- Moisture barrier prevents water-related damage and foundation erosion
- UV shield slows aging and preserves pavement flexibility
- Chemical resistance protects against automotive fluid damage
- Surface binding prevents aggregate loss and maintains smoothness
- Crack filling seals minor surface imperfections before they expand
Proper sealing maintenance can add several years to your driveway’s functional lifespan. This extension delays costly replacement projects significantly. The impact on property value from maintaining an attractive, intact driveway justifies the investment in regular sealing.
Sealcoat effectiveness typically lasts 2 to 3 years under normal traffic conditions. After this period, the protective layer thins and loses its ability to shield pavement adequately. Monitoring your driveway’s appearance helps you identify when renewal is needed.
When and how often to seal your driveway
Timing your first sealcoat application correctly determines its effectiveness. Newly installed asphalt requires 6 to 12 months curing time before sealing. During this period, residual oils from the asphalt mix rise to the surface and evaporate. Sealing too early traps these oils, preventing proper sealant adhesion and causing premature failure.
Once properly cured, maintain a regular sealing schedule every 2 to 3 years. This interval depends on several factors specific to your situation. Heavy traffic wears sealcoat faster than light use. Citrus County’s intense sunlight and frequent rainfall influence how quickly protective coatings degrade.
Several visual indicators signal that your driveway needs resealing:
- Color fading from rich black to dull gray
- Small surface cracks appearing in previously smooth areas
- Visible aggregate showing through worn sealcoat
- Water absorption instead of beading on the surface
- Rough texture replacing the smooth sealed finish
Weather patterns in Citrus County create unique maintenance considerations. High UV exposure accelerates oxidation, while seasonal rains test moisture barriers. These conditions may shift your sealing schedule toward the shorter 2-year interval rather than extending to 3 years.
Sealing at the wrong time causes problems. Applying sealant too early on new asphalt prevents proper curing and leads to coating failure. Waiting too long after fading and cracking appear allows damage to progress deeper into the pavement structure. This makes repairs more extensive and expensive.
Regular inspections and cleaning help you catch wear signs early. Annual pressure washing removes contaminants that accelerate degradation. This maintenance reveals the true condition of your sealcoat and underlying pavement, helping you schedule resealing at optimal times.
Key factors affecting seal timing include:
- Driveway age and previous sealing history
- Daily vehicle traffic volume and weight
- Local climate conditions and weather exposure
- Visible wear indicators like fading and surface cracks
- Quality of previous sealant applications
Proactive monitoring prevents the reactive approach of waiting until damage becomes obvious. Understanding the importance of driveway maintenance helps you protect your investment systematically rather than dealing with emergency repairs.
Materials and sealers used in driveway sealing
Asphalt driveways typically use emulsion-based sealers as the primary protective coating. These water-based products mix asphalt particles with water and additives, creating a sprayable or squeegee-able consistency. Manufacturers recommend diluting asphalt emulsions approximately 1:1 with water for residential applications, balancing protection with cost-effectiveness.

Coal-tar sealants once dominated the market due to their superior resistance to petroleum spills. However, environmental and health concerns have significantly reduced their use. Coal-tar compounds pose recognized health risks and water contamination issues. Many jurisdictions now restrict or ban coal-tar products, making asphalt emulsions the preferred residential choice.
Oil-based sealers offer another option for asphalt surfaces. These products use petroleum distillates as carriers and provide deep penetration into pavement. They work well for older, oxidized driveways but emit strong odors during application and curing.
Concrete driveways require fundamentally different sealer chemistry. Concrete sealers fall into two main categories: penetrating sealers that soak into the surface and film-forming sealers that create a surface coating. Penetrating sealers protect against moisture and freeze-thaw damage without changing appearance significantly. Film-forming options provide a glossy finish while adding a protective layer.
| Sealer Type | Composition | Best For | Drying Time | Environmental Impact |
|---|---|---|---|---|
| Asphalt Emulsion | Water-based asphalt particles | Residential asphalt driveways | 4-8 hours | Low odor, eco-friendly |
| Coal-Tar | Coal tar with solvents | Commercial high-traffic areas | 6-12 hours | High concern, often restricted |
| Oil-Based | Petroleum distillates | Oxidized, older asphalt | 12-24 hours | Moderate odor, slower dry |
| Penetrating Concrete | Silane/siloxane compounds | Concrete pavement | 1-4 hours | Low impact, minimal odor |
| Acrylic Concrete | Acrylic polymers | Decorative concrete | 2-4 hours | Low VOC options available |
Each sealer type presents distinct advantages and limitations. Asphalt emulsions dry faster and produce minimal odor, making them ideal for residential areas. Their environmental profile surpasses coal-tar alternatives significantly. Oil-based products penetrate deeply but require longer drying periods and better ventilation.
Concrete sealers must match the pavement’s intended use and desired appearance. Penetrating sealers offer invisible protection perfect for maintaining natural concrete color. Acrylic film-forming sealers enhance color and provide a wet look that many homeowners prefer for aesthetic reasons.
Durability varies among sealer types. Quality asphalt emulsions typically last 2 to 3 years before reapplication becomes necessary. Concrete penetrating sealers may extend 3 to 5 years depending on traffic and weather exposure. Selecting appropriate materials for your specific driveway type and local conditions optimizes protection and longevity.
Preparation steps before sealing your driveway
Proper preparation determines sealing success more than any other factor. Skipping prep steps leads to poor adhesion and premature sealcoat failure. Following a systematic approach ensures your investment delivers maximum protection.
-
Pressure wash the entire driveway surface thoroughly. Dirt, oil, and debris prevent sealant adhesion, causing the coating to peel or wear unevenly. Use appropriate pressure settings to avoid damaging the pavement while removing contaminants effectively. Pay special attention to areas with heavy staining or organic growth.
-
Repair all cracks and potholes before applying sealant. Sealcoating does not fill major defects or provide structural repair. Use flexible crack filler for linear cracks and cold patch asphalt for potholes. Allow repair materials to cure completely according to manufacturer specifications before proceeding.
-
Treat oil stains with commercial degreasers designed for pavement. Oil contamination prevents sealant bonding even after pressure washing. Apply degreaser, scrub with a stiff brush, and rinse thoroughly. Stubborn stains may require multiple treatments. Test a small area first to ensure the degreaser doesn’t damage your pavement.
-
Verify complete dryness before starting sealant application. Moisture trapped under sealcoat causes bubbling and adhesion failure. Allow at least 24 hours of dry weather after cleaning. Check low spots and depressions where water collects, as these areas retain moisture longest.
-
Schedule sealing during appropriate weather conditions. Ideal temperatures range between 50°F and 85°F with no rain forecast for 24 to 48 hours. Extreme heat causes rapid drying that prevents proper curing. Cold temperatures slow curing and may prevent adequate bonding.
Pro Tip: Multiple pressure washing sessions separated by a few days often remove contaminants more effectively than a single intensive cleaning. This approach loosens embedded dirt during the first wash, allowing deeper penetration during subsequent cleaning.
Edge trimming improves finished appearance significantly. Trim grass and weeds along driveway borders before sealing. Overgrown edges collect debris and create uneven sealant lines. Clean edges also prevent vegetation from contaminating wet sealant during application.
Understanding soft washing preparation methods helps you achieve professional-quality surface cleaning. These techniques balance effectiveness with surface protection, especially important for older or more delicate pavement.
Masking adjacent surfaces protects landscaping and structures from sealant overspray or spills. Cover garage doors, foundation walls, and walkways with plastic sheeting or cardboard. Remove or protect any items stored near the driveway edges.
Thorough preparation adds time to your project but multiplies sealcoat lifespan. The difference between 2 years and 4 years of protection often traces back to prep quality rather than sealant choice. Investing effort in preparation saves money by reducing resealing frequency.
Common misconceptions about driveway sealing
Homeowners often hold incorrect beliefs about sealing that lead to poor maintenance decisions. Clarifying these misconceptions helps you develop realistic expectations and effective maintenance strategies.
Misconception 1: New asphalt should be sealed immediately after installation. This widespread belief causes numerous sealing failures. Newly paved asphalt needs 6 to 12 months for residual oils to evaporate and the surface to cure properly. Premature sealing traps oils that prevent adhesion, causing the sealcoat to peel or wear rapidly. Patience during this curing period ensures your first application bonds correctly.
Misconception 2: Sealcoating fills and repairs all cracks and potholes. Many homeowners expect sealant to act as a repair material. Sealcoat only fills small surface voids and shallow imperfections. Larger cracks and structural damage require proper repair with crack filler or patching compound before sealing. Applying sealcoat over unrepaired damage wastes money and allows deterioration to continue underneath.
Misconception 3: One sealing application lasts indefinitely without maintenance. Some property owners view sealing as a permanent solution. Traffic, weather, and UV exposure gradually wear away the protective layer. Sealcoat typically requires renewal every 2 to 3 years to maintain effectiveness. Skipping regular reapplication allows damage to resume, eventually requiring more expensive repairs.
Key misconceptions include:
- Thinking darker color means better protection rather than just cosmetic improvement
- Believing thicker coats last longer when thin, even applications actually perform better
- Assuming all sealers offer identical protection regardless of quality or formulation
- Expecting sealcoating to fix structural problems like base failure or severe cracking
Understanding sealing’s true capabilities prevents disappointment and wasted investment. Sealcoating excels at preventive maintenance and surface protection. It extends pavement life by shielding against environmental damage. However, it cannot reverse severe deterioration or substitute for proper structural repairs.
Realistic expectations help you integrate sealing into a comprehensive maintenance program. Combining regular cleaning, prompt crack repair, and scheduled sealcoating provides the best long-term results. This approach addresses problems at appropriate stages rather than expecting one solution to handle all issues.
Sealing application best practices and tips
Proper application technique separates successful sealing projects from disappointing failures. Following proven methods ensures even coverage and maximum durability.
Applying two thin coats delivers superior results compared to one thick application. Thin coats dry more evenly and bond better to the pavement surface. The first coat seals the surface and provides a foundation. The second coat builds protection and enhances appearance. This two-coat approach extends sealant lifespan significantly.
Temperature control during application affects curing quality dramatically. Avoid sealing when temperatures fall below 50°F or exceed 85°F. Cold weather slows curing and may prevent proper bonding. Excessive heat causes rapid surface drying while the bottom remains soft, leading to tracking and uneven wear.
Drying time between coats varies with weather conditions. Most sealers need 4 to 8 hours before applying a second coat. Higher humidity and cooler temperatures extend drying time. Check manufacturer specifications for your specific product. Walking on partially dried sealant leaves permanent marks and damages the finish.
Tool selection impacts coverage uniformity:
- Squeegee application provides excellent control for small to medium driveways
- Spray equipment covers large areas quickly but requires skill for even distribution
- Brush application works well for edges and detail areas
- Proper tool maintenance prevents debris contamination in wet sealant
Surface preparation immediately before application makes the final difference. Sweep away any dust or debris that settled since washing. Light moisture promotes adhesion, but standing water causes problems. The ideal surface feels dry to touch but hasn’t baked in hot sun for hours.
Pro Tip: Test your sealer on a small, inconspicuous area before full application. This reveals how the product adheres to your specific pavement and confirms the final color matches your expectations. Testing prevents surprises that affect your entire driveway.
Edge work requires special attention for professional-looking results. Use a brush to carefully seal along borders, preventing roller or squeegee marks on adjacent surfaces. Clean lines between sealed pavement and surrounding areas enhance overall appearance dramatically.
Understanding soft washing and sealing techniques helps you appreciate the precision required for quality work. Professional methods optimize coverage while minimizing waste and overspray.
Traffic restrictions after sealing protect your investment. Keep vehicles off for 24 to 48 hours minimum, depending on weather. Longer curing periods in cool or humid conditions prevent tire marks and surface damage. Communicate clearly with family members and visitors about restricted access during curing.
Consistent application pressure ensures uniform coating thickness. Rushing causes thin spots that wear quickly. Overlapping strokes slightly prevents gaps and ensures complete coverage. Take your time to achieve professional results that protect your driveway effectively for years ahead.
Conclusion and practical recommendations for Citrus County homeowners
Driveway sealing provides essential protection against water infiltration, ultraviolet damage, and chemical exposure. These environmental threats constantly attack your pavement, causing premature aging and expensive repairs. Regular sealing creates a renewable barrier that extends driveway lifespan significantly while maintaining attractive appearance.
Timely maintenance makes the critical difference between minor upkeep and major reconstruction. Sealing every 2 to 3 years prevents small surface issues from developing into structural failures. This proactive approach saves thousands of dollars compared to reactive repairs after damage becomes severe.
Proper preparation determines sealing success regardless of product quality. Thorough cleaning removes contaminants that prevent adhesion. Repairing cracks and potholes before sealing ensures the protective coating bonds to sound pavement. Rushing through prep steps wastes money on applications that fail prematurely.
Citrus County’s climate creates unique maintenance challenges. Intense sunlight accelerates oxidation while frequent rainfall tests moisture barriers continuously. Professional inspections identify wear patterns specific to local conditions, helping you schedule maintenance at optimal intervals.
Long-term benefits extend beyond pavement protection:
- Enhanced curb appeal creates positive first impressions
- Increased property value from well-maintained exterior features
- Reduced long-term maintenance costs through preventive care
- Extended pavement lifespan delays expensive replacement projects
- Peace of mind knowing your investment is protected
Practical next steps for effective driveway maintenance:
- Inspect your driveway quarterly for new cracks, stains, or wear signs
- Schedule professional cleaning annually to remove damaging contaminants
- Repair minor damage promptly before it expands into major problems
- Plan sealing intervals based on visible wear rather than arbitrary schedules
- Document maintenance history to track performance and optimize timing
Seeking professional services makes sense when timing or technique questions arise. Experienced contractors understand local conditions and know how weather patterns affect sealing schedules. The maintenance impact on property value justifies investing in expert assessment and application rather than risking DIY mistakes.
Your driveway represents a significant investment in your property. Protecting it through systematic sealing and maintenance preserves that investment while enhancing your home’s overall appeal. Taking action now prevents problems that cost exponentially more to fix later.
Protect your Citrus County driveway with professional sealing and cleaning
Maintaining your driveway’s integrity requires expertise in both cleaning and sealing techniques suited to Citrus County conditions. White Diamond Pressure Washing brings specialized knowledge of local weather patterns and their effects on pavement longevity. Our team understands how intense Florida sunlight and seasonal rainfall impact sealing schedules and material selection.

Professional services ensure thorough surface preparation that DIY approaches often miss. We remove embedded contaminants, repair damage properly, and apply sealant under optimal conditions for maximum durability. Our proven driveway cleaning methods prepare surfaces for superior sealant adhesion, extending protection beyond typical timeframes. Understanding the importance of proper maintenance helps homeowners make informed decisions about protecting their property investments. Contact us for a comprehensive driveway evaluation and customized maintenance plan that keeps your pavement in excellent condition year after year.
FAQ
What is driveway sealing and why is it important?
Driveway sealing applies a protective coating to asphalt or concrete surfaces that shields pavement from environmental damage. This barrier blocks water penetration that causes freeze-thaw cracking, prevents UV oxidation that makes asphalt brittle, and resists chemical stains from vehicle fluids. Sealing preserves your driveway’s appearance, extends its functional lifespan by several years, and protects your property value through maintained curb appeal.
How often should I seal my driveway in Citrus County?
Seal your driveway every 2 to 3 years depending on traffic volume and visible wear signs. Citrus County’s intense sunlight and frequent rainfall may push schedules toward the shorter 2-year interval. Inspect regularly for fading color, small cracks, or rough texture that indicates your sealcoat is wearing thin and needs renewal.
Can I apply driveway sealer myself or should I hire a professional?
DIY sealing is possible if you follow preparation and application instructions carefully, but mistakes cause premature failure. Professionals ensure proper surface cleaning, damage repair, weather-appropriate application, and even coverage that maximizes sealcoat lifespan. Hiring experienced exterior cleaning specialists reduces error risk and delivers lasting protection worth the investment.
What are the differences between sealcoating, resurfacing, and repaving?
Sealcoating applies a thin protective layer over existing pavement, primarily for prevention and cosmetic enhancement. Resurfacing adds a new pavement layer over the old surface to restore smoothness and cover moderate defects. Repaving completely removes and replaces the driveway, addressing severe structural damage or total pavement failure requiring major repair. Each addresses different damage levels and serves distinct maintenance needs.
Recommended
- Importance of Regular Driveway Cleaning for Homeowners – white-diamond-pressure
- Importance of Driveway Cleaning for Citrus County Homes – white-diamond-pressure
- 7 Smart Driveway Cleaning Methods for Citrus County Homes – white-diamond-pressure
- Commercial Driveway Cleaning: Impact on Property Value – white-diamond-pressure