

TL;DR:
- Most exterior paint failures stem from inadequate surface preparation rather than the paint itself. Proper cleaning, scraping, sanding, repairing, caulking, and priming are essential for lasting results, with skipping steps risking peeling, blistering, or cracking. Thorough prep ensures better adhesion, moisture resistance, and longevity of the paint job, making it well worth the time investment.
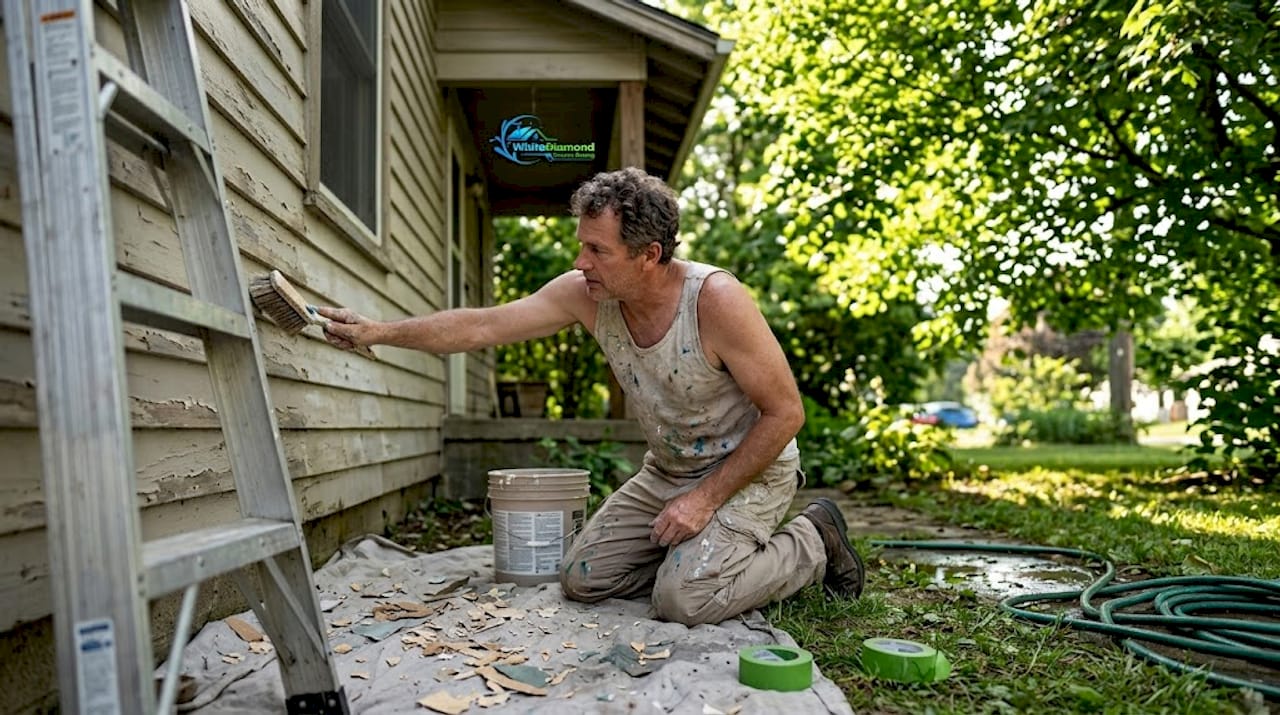
Most homeowners assume painting is the hard part. It isn’t. The real work happens before a single drop of color touches your siding. What is exterior paint prep? It’s the full sequence of steps taken to clean, repair, sand, and prime your exterior surfaces before painting. And according to industry data, inadequate prep causes most premature exterior paint failures. Skip it or rush it, and your fresh paint job can blister, peel, or crack within a season. This guide walks you through every step so you get it right the first time.
Table of Contents
- Key takeaways
- What is exterior paint prep, exactly?
- Cleaning the exterior surface the right way
- Removing loose paint and feathering the edges
- Repairing cracks, rot, and gaps
- Priming: where, when, and which type
- Your prep checklist before you pick up a brush
- My take on why most DIY paint jobs fail
- Get your surface professionally cleaned before you start
- FAQ
Key takeaways
| Point | Details |
|---|---|
| Prep is the foundation | Nearly 90% of exterior paint failures trace back to poor surface preparation, not bad paint. |
| Cleaning comes first | Washing away dirt, mildew, and chalk is the non-negotiable first step before any other prep work. |
| Drying time is not optional | Surfaces need 24 to 48 hours to fully dry after washing before scraping or painting begins. |
| Repairs before primer | Fill cracks, replace rotten wood, and caulk all gaps before applying primer or paint. |
| Primer targets bare surfaces | You don’t always need to prime everything, but bare wood, masonry, and patched areas always need it. |
What is exterior paint prep, exactly?
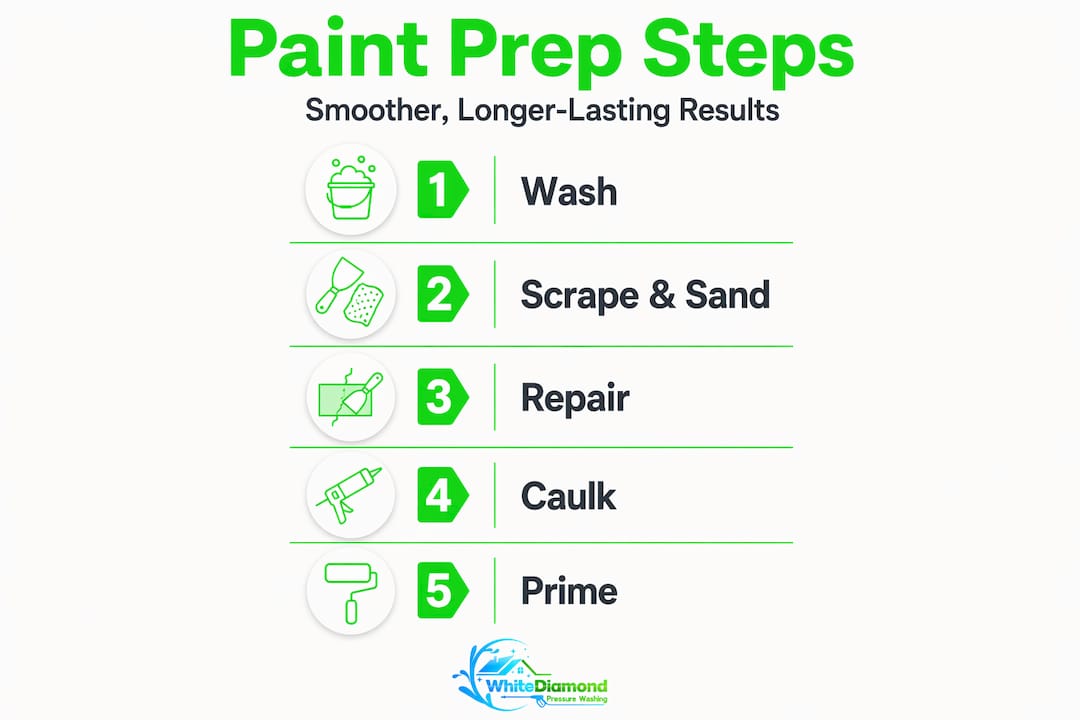
Exterior paint prep is the structured process of getting your home’s outside surfaces ready to accept and hold paint. It covers six key actions: cleaning the surface, removing loose or peeling paint, sanding rough edges, repairing defects, caulking gaps, and priming where needed. Skipping any step undermines adhesion and the entire paint job fails faster than it should.
Think of your siding as a canvas. A painter wouldn’t apply oil to a dirty, torn canvas and expect a masterpiece. The same logic applies here. Paint is only as good as the surface underneath it.
The importance of exterior paint prep goes beyond aesthetics. A properly prepped surface protects your home from moisture intrusion, wood rot, and weather damage for years. It’s the difference between a paint job that lasts 8 to 10 years and one that starts peeling after 18 months.
Cleaning the exterior surface the right way
Surface cleaning is where exterior paint preparation techniques begin. Dirt, chalky residue, mildew, and grease all break the bond between paint and surface. You cannot paint over them and hope for the best.
Pressure washing is the standard cleaning method for most exterior surfaces. Used correctly, it strips away years of grime quickly. Used incorrectly, it forces water into wood grain, damages siding, or strips away sound paint you actually wanted to keep. Incorrect pressure washing technique is one of the most common reasons DIY paint jobs fail before they start.
Here’s how to approach exterior surface cleaning methods before painting:
- Use a pressure washer at 1,200 to 1,500 PSI for wood siding and 2,000 to 2,500 PSI for concrete or masonry
- Spray at a downward angle, not straight into gaps or seams
- Add a mildew-killing solution (one part bleach to three parts water) for areas with visible mold or algae growth
- Rinse thoroughly and let the surface dry 24 to 48 hours before scraping or applying any material
One more thing that often catches homeowners off guard: lead paint. If your home was built before 1978, disturbing more than 20 square feet of exterior painted surface requires lead-safe work practices under EPA RRP regulations. That means containment sheeting, proper disposal of debris, and in many cases a certified renovator on site.
Pro Tip: Rent a moisture meter from your local hardware store after washing. Wood needs to read below 12 to 15% moisture content before you apply any finish coat. Painting over wood that’s too wet traps moisture and causes blistering within weeks.
Removing loose paint and feathering the edges
Once the surface is clean and dry, you move into the step most DIYers underestimate: scraping and sanding. Any paint that’s already peeling, bubbling, or flaking must come off. New paint won’t stick to failing old paint. It will follow it right off the wall.
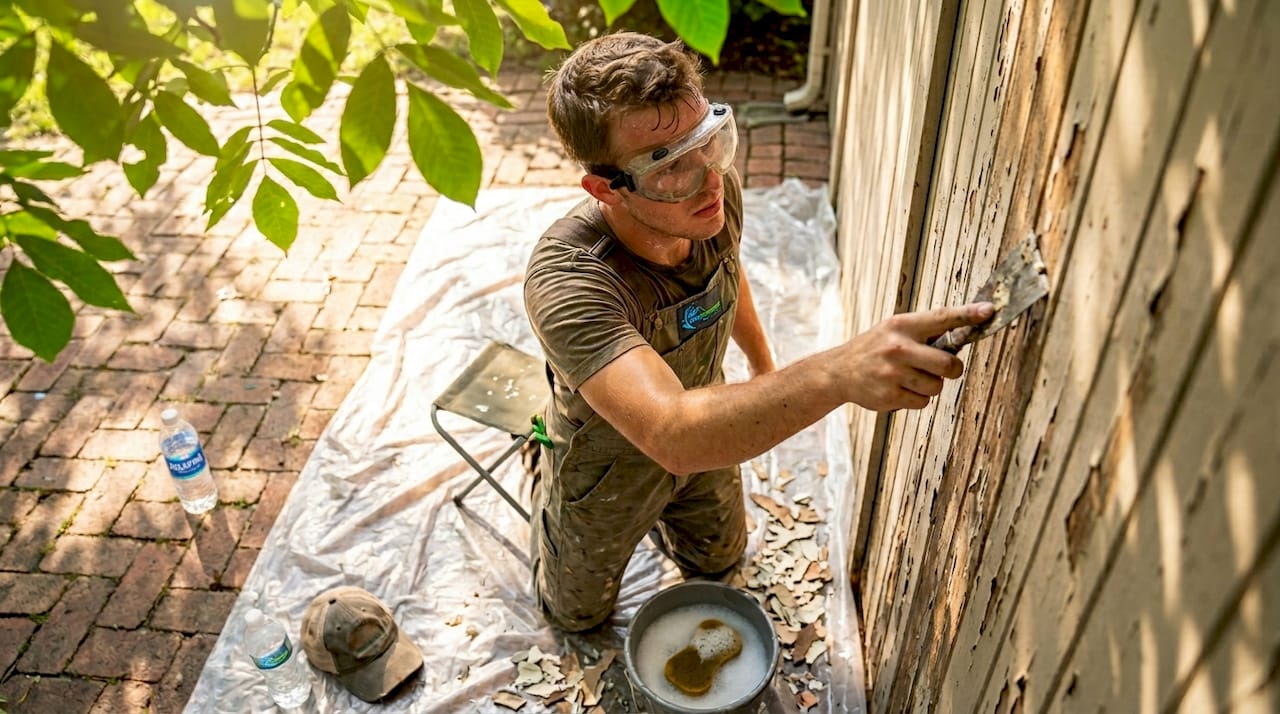
Use a stiff putty knife or paint scraper to remove loose material. For areas where the paint has bonded but is heavily built up and cracked, chemical strippers can help lift it without gouging the wood. Work in sections and be thorough.
Here’s what to watch for during this stage:
- Scrape until you hit solid, well-bonded paint or bare wood
- Use 80 to 100 grit sandpaper on bare wood spots to smooth the surface
- Switch to 120 to 150 grit for feathering transitions between scraped areas and intact paint
- Feather sanding peeling edges so there’s no hard ridge where old paint ends and bare wood begins
That last point is more important than most people realize. If you leave a sharp edge where old paint stops, you’ll see it through the new finish as a visible ridge. It telegraphs the repair and looks exactly like what it is: a shortcut. Feathering transitions properly prevents early delamination at those edges and gives you a finish that looks painted, not patched.
Pro Tip: Wrap sandpaper around a sanding block rather than folding it in your hand. You’ll get more even pressure across the edge and won’t create low spots that show up later under sheen paint.
Repairing cracks, rot, and gaps
This is the step that separates a paint job that lasts from one that doesn’t. Once the surface is clean and sanded, you need to inspect every inch for damage before moving forward. Moisture is the enemy, and any crack, gap, or soft spot is an open door.
Start by probing wood trim and siding with a screwdriver. If it sinks in easily, that wood is rotten and needs to come out. Painting over rot doesn’t stop it. Rot keeps spreading beneath the surface, and your paint will fail right along with the wood underneath it. Replace rotten boards or sections before going any further.
For small holes and surface cracks, use an exterior-grade wood filler. Apply it slightly overfilled, let it cure fully, then sand it flush. For joints, seams, and gaps around windows, doors, and trim, you need exterior paintable caulk. Paintable latex or hybrid caulks are the right choice here. Silicone caulk is flexible but paint won’t bond to it, so it creates a visible seam that grows more obvious over time.
Key areas to caulk before painting:
- All four sides of every window frame where it meets the siding
- Door frames and any trim with visible gaps
- Corners where siding meets itself or a different material
- Any spot where two different building materials meet
Pro Tip: Run your caulk bead, then immediately smooth it with a wet finger. This pushes caulk into the gap and removes the excess in one motion. A dry, lumpy caulk line will show through paint just like a poorly feathered edge.
Priming: where, when, and which type
A lot of homeowners either over-prime or skip it entirely. Neither is right. Primer is not always necessary on surfaces with intact, well-bonded existing paint. But it is non-negotiable on bare wood, bare masonry, patched areas, and any spot where you used filler or caulk.
Priming bare wood and masonry does two things: it blocks tannins and stains from bleeding through your topcoat, and it gives the paint a consistent surface to grip. Without it, you’ll often see dark spots or uneven sheen bleed through even multiple topcoats.
Choosing the right primer depends on your surface:
- Oil-based primer: Best for bare wood with tannin bleed issues (cedar, redwood), heavy stains, or previously failing paint. Dries in 1 to 2 hours but requires mineral spirits for cleanup.
- Latex primer: Faster drying, easier cleanup, and works well on most prepared exterior surfaces including patched areas and clean bare wood.
- Bonding primer: Use this on glossy surfaces where paint adhesion is a concern, like old enamel or metal trim.
Apply primer in thin, even coats. Let it dry completely before applying your topcoat. Rushing this step is one of the most common best practices for paint prep that gets ignored. A partially dried primer layer traps solvents and causes bubbling in your finish coat.
Pro Tip: Tint your primer close to your topcoat color. It reduces the number of finish coats you need and helps you spot any missed areas before you’re done.
Your prep checklist before you pick up a brush
Before you open a single can of paint, run through this sequence. These are the steps for exterior paint prep in the order they must happen:
- Inspect the entire exterior for rot, damage, and failing paint
- Wash all surfaces with appropriate pressure and cleaning solution
- Allow 24 to 48 hours of drying time (verify with a moisture meter on wood)
- Scrape all loose, peeling, or flaking paint
- Sand scraped areas and feather all edges
- Replace any rotten wood sections
- Fill holes and cracks with exterior filler, sand flush when cured
- Caulk all gaps, seams, and joints with paintable latex caulk
- Apply primer to all bare wood, masonry, and repaired areas
- Inspect one final time before painting
| Prep step | Can you skip it? | What happens if you do? |
|---|---|---|
| Washing | No | Paint adhesion fails; mildew bleeds through |
| Drying period | No | Moisture causes blistering and peeling |
| Scraping loose paint | No | New paint peels with the old within months |
| Feather sanding | Technically yes | Visible ridges show through new finish |
| Repairing rot | No | Rot spreads; paint fails and wood worsens |
| Caulking | No | Moisture infiltrates; paint cracks at seams |
| Priming (bare areas) | No | Staining bleeds through; adhesion fails |
Pro Tip: Schedule your multi-day prep around the weather forecast, not your weekend preference. You need at least two dry days in a row after washing, plus mild temperatures (50°F to 85°F) during application.
My take on why most DIY paint jobs fail
I’ve seen hundreds of exterior paint jobs, and the ones that fail early almost always share the same story. The homeowner spent one afternoon on prep, then spent the whole weekend painting. They flipped the ratio. Prep should take longer than painting. That’s not an exaggeration.
The most common mistake I see is skipping the moisture check on wood. The surface looks dry. The homeowner assumes it is dry. But wood can hold significant moisture just below the surface for days after washing, especially in humid climates. Painting over it locks that moisture in, and within weeks you get bubbling or blistering that has nothing to do with the paint quality and everything to do with what was underneath it.
The second mistake is treating caulking as cosmetic. It isn’t. It’s a moisture barrier. Every gap around a window or door that goes unsealed is a path for water to get behind your paint film. Once water is behind the paint, the paint is coming off. That’s physics, not bad luck.
What I’ve found is that homeowners who take the prep seriously, even when it feels tedious and unglamorous, get results that hold up for a decade. The ones who rush to the color often repaint within three years. Respect the prep, and the paint job takes care of itself.
— Bobby
Get your surface professionally cleaned before you start

The single biggest thing you can do to set up a successful paint job is start with a surface that’s genuinely clean. Not just rinsed, but thoroughly decontaminated. Whitediamondpressurewashing specializes in exactly that. Using soft wash and low-pressure techniques that protect your siding, trim, and masonry, the team removes mold, mildew, chalk, and years of grime before you pick up a scraper. A professional clean from Whitediamondpressurewashing means you start prep with a surface that’s ready to work with, not against. It saves time, protects your materials, and sets the stage for paint that actually lasts.
FAQ
What does exterior paint prep include?
Exterior paint prep includes cleaning the surface, scraping loose paint, sanding and feathering edges, repairing cracks and rot, caulking gaps, and priming bare or repaired areas before painting.
How long does exterior paint prep take?
Prep typically takes longer than painting itself. Between washing, drying time of 24 to 48 hours, scraping, repairs, and priming, plan for two to four days of prep on an average-sized home.
Do I need to prime before painting the exterior?
You don’t need to prime intact, well-bonded existing paint. But bare wood, masonry, patched spots, and caulked areas always require primer to ensure proper adhesion and stain blocking.
Why does exterior paint peel so quickly sometimes?
Nearly 90% of exterior paint failures come from inadequate surface preparation, including painting over damp wood, skipping scraping, or failing to caulk gaps that let moisture behind the paint film.
Is pressure washing safe before painting?
Yes, when done correctly. Use appropriate pressure for the surface type, spray at a downward angle, and always allow surfaces to fully dry for 24 to 48 hours before proceeding with any prep or painting.
Recommended
- Pre-treatment for exterior cleaning: boost curb appeal – white-diamond-pressure
- Why Clean Home Exteriors Matter for Value – white-diamond-pressure
- Preventative Exterior Cleaning: Protect Your Home – white-diamond-pressure
- Why clean before painting: ensure lasting exterior results – white-diamond-pressure