

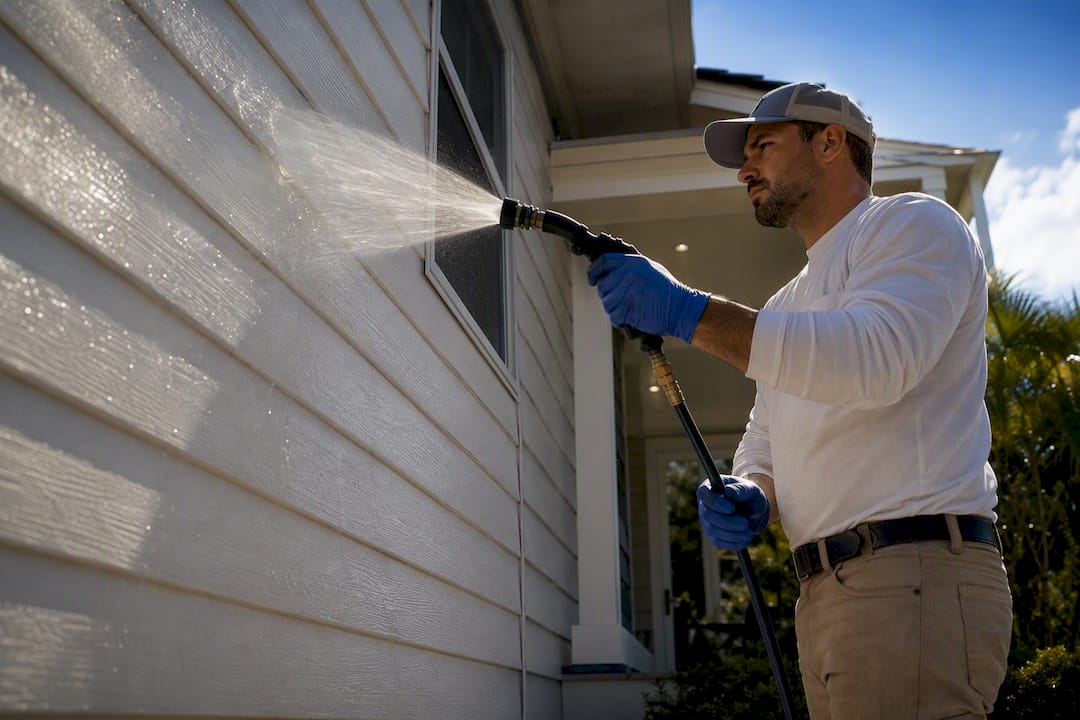
Soft washing, not a straight blast of high pressure, is the right way to clean vinyl siding. That means applying a diluted cleaning solution at low pressure through a soap or 65 degree tip and rinsing with a wide 25 to 40 degree fan nozzle at pressure levels safe for vinyl. Increasing the pressure much beyond recommended levels does not clean faster, but rather risks forcing water behind panels, cracking brittle spots, gouging the surface, and potentially voiding your siding warranty.
TL;DR:
- Using low-pressure, chemical-based soft washing prevents water intrusion and damage, avoiding the cracking and discoloration caused by high-pressure cleaning.
- Applying a 1-2% sodium hypochlorite solution with surfactant and testing it first helps ensure effective cleaning without risking panel damage or warranty voidance.
- Regular soft washing every one to two years, especially in shaded or mildew-prone areas, keeps siding clean longer than quick pressure-only rinses.
- Proper technique involves applying cleaning solutions from bottom to top and rinsing from top to bottom to prevent streaking and water infiltration.
- Homeowners should consider professional services if they have fragile, older siding, or if they lack experience with low-pressure washing to avoid costly mistakes.
Table of Contents
- What Is Vinyl Siding Pressure Washing, Exactly?
- Equipment and Supplies for a Safe Soft Wash
- Soft Wash or Just Rinse? How to Decide
- The Step-by-Step Method That Actually Works
- Mistakes That Damage Vinyl Siding (and How to Avoid Them)
- How Often Should You Clean Vinyl Siding?
- Why We Push Soft Washing Over Straight Pressure
- Want a Professional to Handle Your Siding Instead?
- Sources
What Is Vinyl Siding Pressure Washing, Exactly?
“Pressure washing” is a bit of a misleading term when it comes to siding, and that’s worth clearing up before you touch a machine. What most professionals actually do to vinyl siding isn’t pressure washing in the traditional sense. It’s soft washing: a two-part process that uses a diluted cleaning chemical to break down dirt, algae, and mildew, followed by a gentle rinse to carry it away.
Vinyl Siding Institute guidance and manufacturers like CertainTeed are consistent on this point. CertainTeed’s own cleaning instructions recommend soapy water and a soft-bristle brush, and explicitly caution against power washing because it can drive moisture into the wall assembly and damage or discolor panels. That’s not a marketing suggestion. It’s baked into how the panels are engineered to shed water, not absorb a direct jet of it.
The confusion happens because homeowners hear “pressure washer” and picture the same nozzle setting they’d use on a concrete driveway. Vinyl siding cleaning and driveway blasting are two different jobs with two different tools, even when the same machine powers both.
Equipment and Supplies for a Safe Soft Wash
You don’t need commercial-grade gear, but you do need the right attachments. A standard pressure washer paired with a downstream injector or a separate 12V pump sprayer lets you apply cleaning solution at low pressure before rinsing.
Here’s what a basic homeowner soft-wash kit looks like:
- A pressure washer (gas or electric) with a chemical-resistant hose and tank
- A downstream injector or 12V pump sprayer for chemical application
- A soft-wash or soap nozzle (around 65 degrees) for applying the mix
- A 25 to 40 degree fan tip for rinsing
- A soft-bristle brush for spot scrubbing stubborn areas
- Safety goggles and chemical-resistant gloves
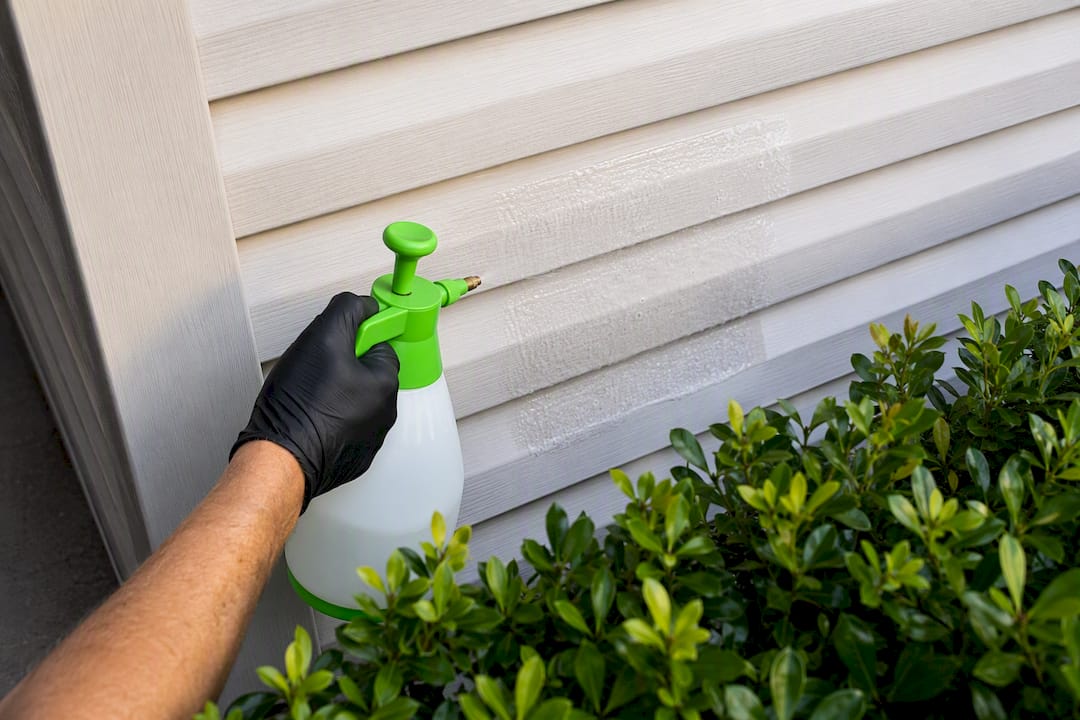
For the mix itself, operator guides target roughly 1 to 2% sodium hypochlorite on the surface combined with a surfactant to help it cling to vertical panels instead of sliding straight off. If you’d rather skip bleach-based chemistry, plain dish soap or a siding-safe detergent works fine for lighter dirt and gives you a gentler starting point. Cover nearby plants with plastic sheeting and rinse them with plain water before and after, and keep the spray away from outdoor outlets and light fixtures.
Pro Tip: Always test your cleaning mix on a hidden section of siding, like behind a shrub, and wait 10 minutes to check for discoloration before treating the whole house.
Soft Wash or Just Rinse? How to Decide
Not every siding job needs chemicals. If you’re only dealing with light dust or pollen and the siding is newer, a careful low-pressure rinse alone might do the job, assuming your manufacturer’s documentation doesn’t say otherwise. Soft washing earns its place when you’re dealing with algae, mildew, or the greenish-black streaking that shows up on shaded, north-facing walls.
Run through this before you decide:
- Age and condition: older or sun-brittle panels crack more easily under pressure and benefit from the gentler chemical approach.
- Warranty status: check your paperwork. Some manufacturers void coverage if pressure washing caused the damage.
- Visible growth: algae and mold roots survive a plain water rinse; they need the chemical treatment to actually die off.
- Proximity to vents, trim, or window seams: more risk of water intrusion means more reason to go gentle.
If your house is two stories or more, has fragile trim, or you’re not sure what type of siding you actually have, that’s the point to call a professional instead of improvising on a ladder.
The Step-by-Step Method That Actually Works
Once you’ve decided soft washing is the right call, sequence matters as much as the chemistry.
- Prep the site. Close windows and doors, move patio furniture, and soak or cover nearby landscaping. Check the forecast. Avoid washing in freezing temperatures or on panels that have been sitting in direct sun and are hot to the touch.
- Apply from the bottom up. Using your soap nozzle or downstream injector at roughly 100 to 200 PSI, apply the cleaning solution starting at the bottom of the wall and working upward. This prevents streaking that happens when soap runs down over dry, dirty siding below it.
- Let it dwell. Give the solution 10 to 15 minutes of contact time. Watch it. If it starts drying out in the sun before that window closes, mist a little more on rather than letting it bake onto the panel.
- Rinse from the top down. Switch to your 25 to 40 degree fan tip and rinse at 200 to 500 PSI, working top to bottom this time. Keep the nozzle angled slightly downward and hold a standoff distance of roughly 6 to 18 inches, adjusting closer only for a final light pass.
- Spot-treat stubborn spots. For stains that survive the rinse, a soft-bristle brush and a little extra dwell time beats cranking the pressure. Skip 0 degree, rotary, or turbo tips entirely on siding; they’re built for concrete, not polymer panels.
- Check your work. Inspect seams, window sills, and trim for any sign of water intrusion. Rinse plants a second time to clear off any residual chemical.
InspectApedia’s cleaning guidance makes a point worth repeating here: start with the least aggressive method that will actually work, plain water and a soft brush, before reaching for stronger chemicals or higher pressure. Pressures above about 100 PSI applied incorrectly start increasing your odds of damage, which is exactly why the soft-wash approach separates chemical strength from water force instead of relying on one dial to do both jobs.
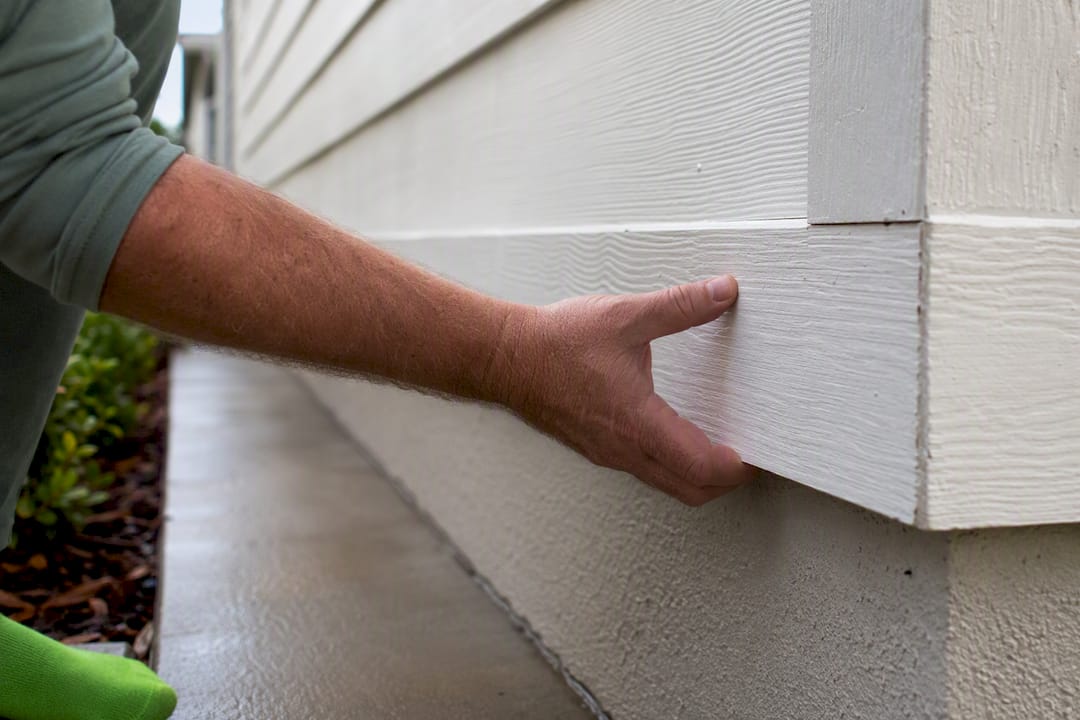
Give the house 24 to 48 hours after rinsing, then walk the perimeter again. Any staining on interior walls near exterior corners, or trim that suddenly feels soft, is a sign water got somewhere it shouldn’t have.
Mistakes That Damage Vinyl Siding (and How to Avoid Them)
Most siding damage from cleaning comes down to a handful of repeatable errors, not bad luck.
- Spraying upward or at a steep angle. Water finds the seams between panels and gets pushed behind them, which is how you end up with trapped moisture and eventual rot.
- Using a narrow or rotary tip on siding. These are made for stripping concrete and stone, not for polymer panels that flex and can crack under a concentrated stream.
- Cranking PSI to save time. Distance and nozzle angle change the force hitting the surface just as much as the pressure setting does. A 40 degree tip held 18 inches away is a completely different experience than a 15 degree tip held six inches away, even at the same PSI.
- Ignoring panel age. Sun-brittle, older siding cracks far more easily than newer material, so an approach that was fine five years ago may not be fine now.
Pro Tip: If you notice blistering, caulk that’s suddenly pulling away from trim, or a musty smell near an exterior wall days after washing, stop cleaning that section and get a professional to check for water intrusion before it turns into a bigger repair.
How Often Should You Clean Vinyl Siding?
Most homes need a wash every one to two years, though homes in shaded, tree-covered areas with heavy mildew exposure often benefit from more frequent cleaning. A proper soft wash, which kills mildew at the root rather than just removing surface dirt, retains a clean appearance significantly longer than pressure-only cleaning. Pressure-only cleaning without any chemical treatment often looks dirty again within months, since surface growth gets removed but the organisms underneath survive and regrow quickly.
If you’re hiring it out, professional soft-wash pricing generally runs:
- Small homes: roughly $200 to $500
- Average-size homes: roughly $400 to $1,000
Price swings depending on square footage, how many stories you’re dealing with, how much biological growth has built up, and local labor rates in your area.
Why We Push Soft Washing Over Straight Pressure
We’ve watched enough vinyl siding jobs go sideways to have a strong opinion here: the appeal of high pressure is almost always about speed, not results. It looks like it’s working faster in the moment, right up until you find water damage in the wall cavity three months later. Soft washing takes longer up front and costs more in chemical than in electricity, but it’s the only approach that actually kills what’s growing on the siding instead of just knocking the visible layer off.
This is the standard to hold every siding job to: low pressure, the right chemistry, and enough patience to let the dwell time do the work instead of the nozzle. If you’re doing this yourself, check your specific siding manufacturer’s cleaning page before you start. Requirements vary slightly between brands, and following that guidance protects your warranty as much as your panels.
— Bobby
Want a Professional to Handle Your Siding Instead?
Some homeowners want the satisfaction of doing this themselves, and the steps above will get you there safely if you follow them closely. But if a two-story house, fragile trim, or a packed weekend schedule is holding you back, a professional service can run the soft-wash process outlined here: low-pressure application, careful dwell time, plant protection, and a top-down rinse that keeps water out of your walls instead of behind your panels.

When you request an estimate, ask what pressure range the crew plans to use, what chemical concentration they mix, and whether they protect landscaping before starting. Our vendor evaluation guide walks through exactly what to ask any contractor before they touch your house. Ready to see what your siding actually looks like under a proper soft wash? Get a free estimate and find out.
Sources
- How to clean vinyl siding | CertainTeed
- Vinyl siding cleaning methods | InspectApedia
- Pressure washing vinyl siding: complete operator guide | MakeWash