

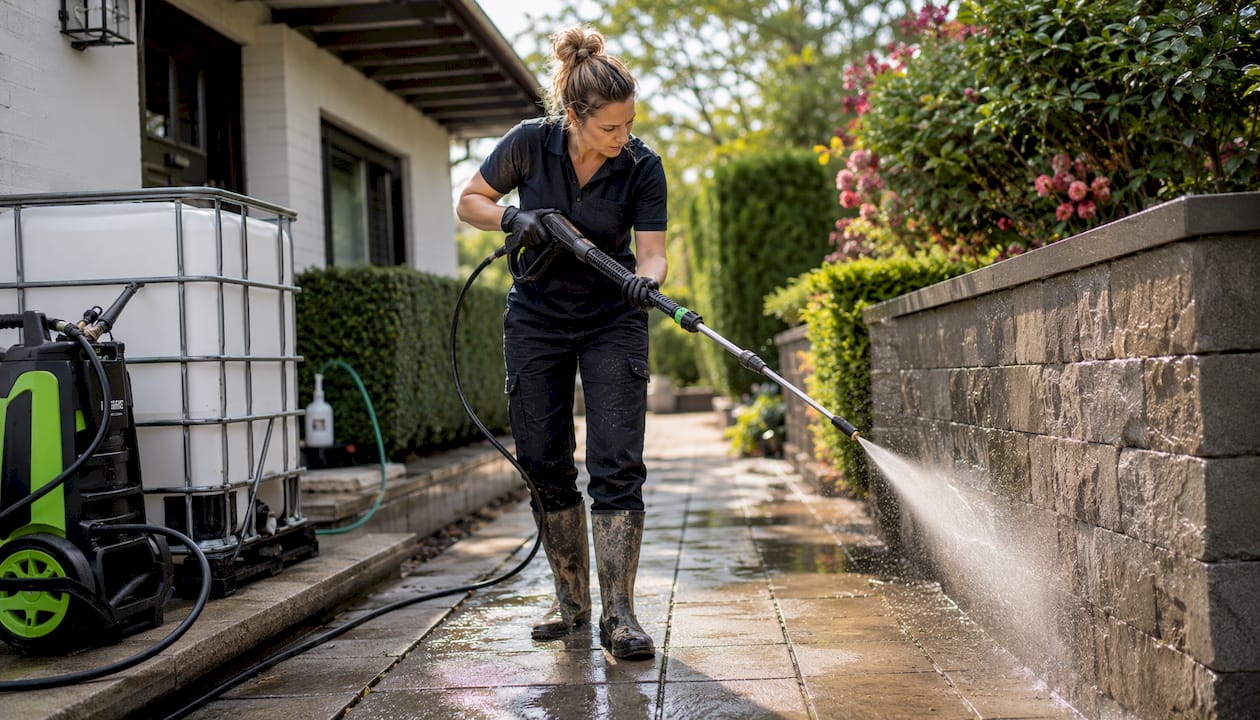
TL;DR:
- Always follow the product label and Safety Data Sheet when rinsing after exterior cleaning to prevent damage.
- Proper rinse procedures include immediate rinsing, pre-wetting plants, and inspecting for residue after drying.
Yes, you should rinse after a soft wash or pressure wash — unless the product label explicitly says otherwise. That single rule, follow the manufacturer label and Safety Data Sheet (SDS), is the foundation of every post-rinse protocol. Rinse when the label says to rinse. Leave it on only when the label explicitly permits a slow-clean or leave-on application. Getting this wrong is how you end up with white spots on metal trim, chemical burn on your shrubs, or a sticky film that collects dirt faster than the original surface did.
Here is the on-site checklist for any job:
- Check the product label and SDS before the crew starts — confirm rinse or leave-on instruction.
- Watch the dwell time. Rinse immediately when it expires; do not let the product dry on the surface.
- Pre-wet plants and soil in the drip zone before application begins.
- Rinse from top to bottom in a sweeping motion, flushing trap zones (window seals, drip edges, gutters).
- Inspect the surface once dry, typically within a few days later depending on material and humidity.
Pro Tip: Keep a physical or digital copy of every product label and SDS on site during the job. If a question comes up mid-rinse, you need the answer in 30 seconds, not after a phone call.
Most post-wash problems — streaks, white spotting on metal, sticky residue — appear after drying, which means a failure during the rinse pass won’t be obvious until the surface is already compromised.
Table of Contents
- What does a post-rinse protocol actually protect?
- When should you rinse, and when should you leave it on?
- How do professional technicians perform the post-rinse?
- How does rinse technique change by surface material?
- What mistakes cause staining, plant damage, or water intrusion?
- What should you inspect after the rinse, and when do you call back?
- How Whitediamondpressurewashing implements post-rinse protocols
- Key Takeaways
- Trained pros who follow every post-rinse step, every time
- Where to check product labels, SDS, and trusted guidance
What does a post-rinse protocol actually protect?
A post-rinse protocol is the sequence of steps taken immediately after a cleaning chemical’s dwell time ends. It includes a low-pressure flush of the treated surface, a walk-around inspection, runoff containment, plant protection, and neutralization where the label calls for it.
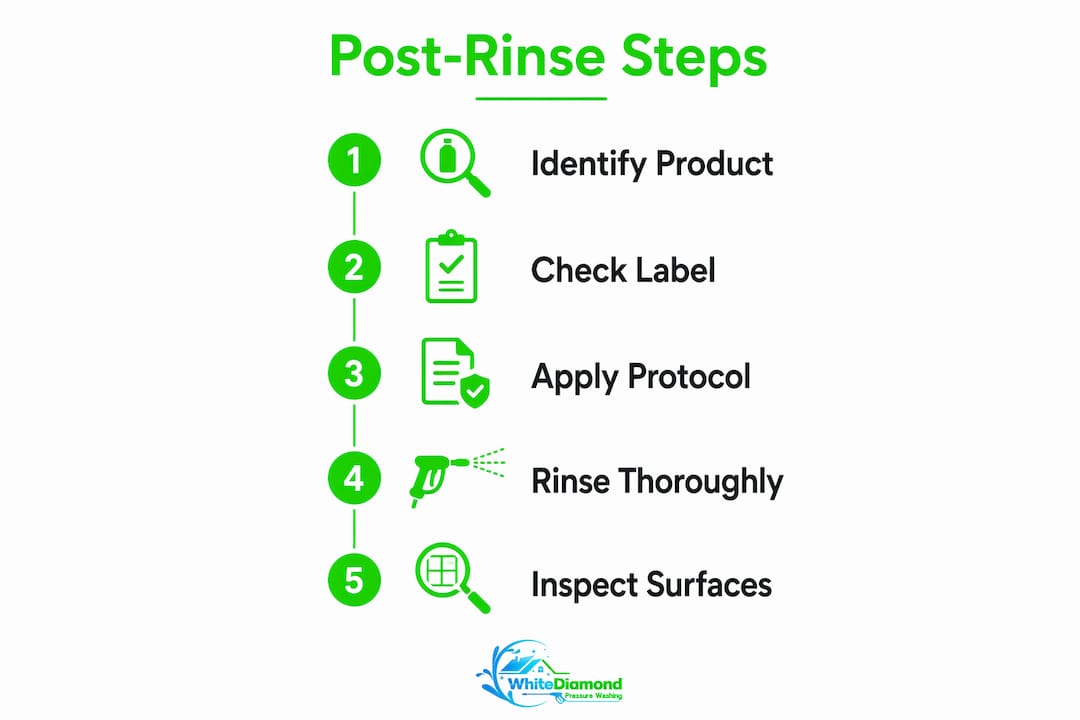
The goals are specific. Removing chemical residue stops oxidizers and surfactants from concentrating as they dry. Protecting plants and soil prevents pH disruption from alkaline or chlorine-based runoff. Containing runoff keeps cleaning chemistry out of storm drains and off neighboring hardscapes. Avoiding water intrusion means not forcing rinse water behind siding, through window seals, or into structural joints.
That blockquote is not a formality. Exterior cleaning products vary widely. Some sodium hypochlorite-based soft wash blends require a thorough rinse to stop the reaction. Others, particularly slow-clean biocides designed for roof treatment, are formulated to keep working after application and should not be rinsed at all. Treating them the same way produces different results, and usually bad ones.
When should you rinse, and when should you leave it on?
The decision rule is straightforward: the product label and SDS override everything else. Here is how to apply it on site.
Rinse-required products will state “rinse thoroughly after application” or similar language. These include most house wash blends, driveway degreasers, and oxidizer-based roof treatments where the label specifies a flush.
Leave-on or slow-clean products will state “do not rinse” or “allow to weather off.” These are common in biocidal roof treatments where the active ingredient needs extended contact time to kill moss and algae at the root level.
If the label is unclear, call the manufacturer’s technical support line before the job starts. That call takes five minutes and prevents a callback visit.
| Product Type | Label Language | Correct Action |
|---|---|---|
| House wash / oxidizer blend | “Rinse after application” | Rinse immediately after dwell time |
| Slow-clean biocide (roof) | “Do not rinse” or “weather off” | Leave on; no post-rinse |
| Driveway degreaser | “Rinse thoroughly” | Full flush, including joints |
| Neutralizer-required product | “Neutralize before rinsing” | Apply neutralizer, then rinse |
| Unclear or unlabeled | No clear instruction | Call manufacturer; do not proceed |
Keep product labels and SDS sheets on the job site, not back at the truck or the office. Field verification means having the document in hand when the question comes up.
How do professional technicians perform the post-rinse?
Rinse immediately when dwell time ends. Letting the product dry on the surface is the single most common cause of post-service staining. Here is the full sequence trained technicians follow.
- Contain runoff first. Bag or redirect downspouts so chemical-laden water does not enter storm drains. Place absorbent barriers at pavement edges if needed.
- Pre-wet all landscaping. Saturate plants, soil, and grass in the drip zone with clean water before rinsing the structure. This dilutes any runoff that reaches them.
- Set pressure correctly. For soft wash follow-up rinses, keep pressure under 500 PSI — garden-hose equivalent (~100 PSI) is the target for application; the rinse can be slightly higher but stays well below pressure-washing territory. Learn more about low-pressure rinse technique and why it matters for surface preservation.
- Rinse top to bottom. Use a sweeping, even motion. Working downward prevents rinsed chemistry from running over already-clean sections.
- Flush trap zones. Window seals, drip edges, ledges, and gutters collect pooled chemistry. Give each one a targeted flush to clear residue before it dries.
- Apply neutralizer if required. Only when the label or SDS calls for it — typically near plants, metals, or on surfaces treated with high-pH chemistry.
- Rinse landscaping again. A second pass over foliage and soil in the drip zone after the structure is rinsed adds meaningful protection against pH disruption.
- Walk-around inspection. Check every elevation for missed spots, streaks, or pooling before packing up.
Safety checklist during the rinse:
- PPE on: chemical-resistant gloves, eye protection, non-slip footwear.
- Keep pets and people off wet surfaces until fully dry.
- Never force rinse water behind siding panels, through vents, or past window seals.
- Divert gutters and downspouts away from plant beds during the rinse pass.
Pro Tip: Document the rinse pass with timestamped photos of each elevation and the trap zones. This protects both the contractor and the homeowner if a warranty question comes up later.
How does rinse technique change by surface material?
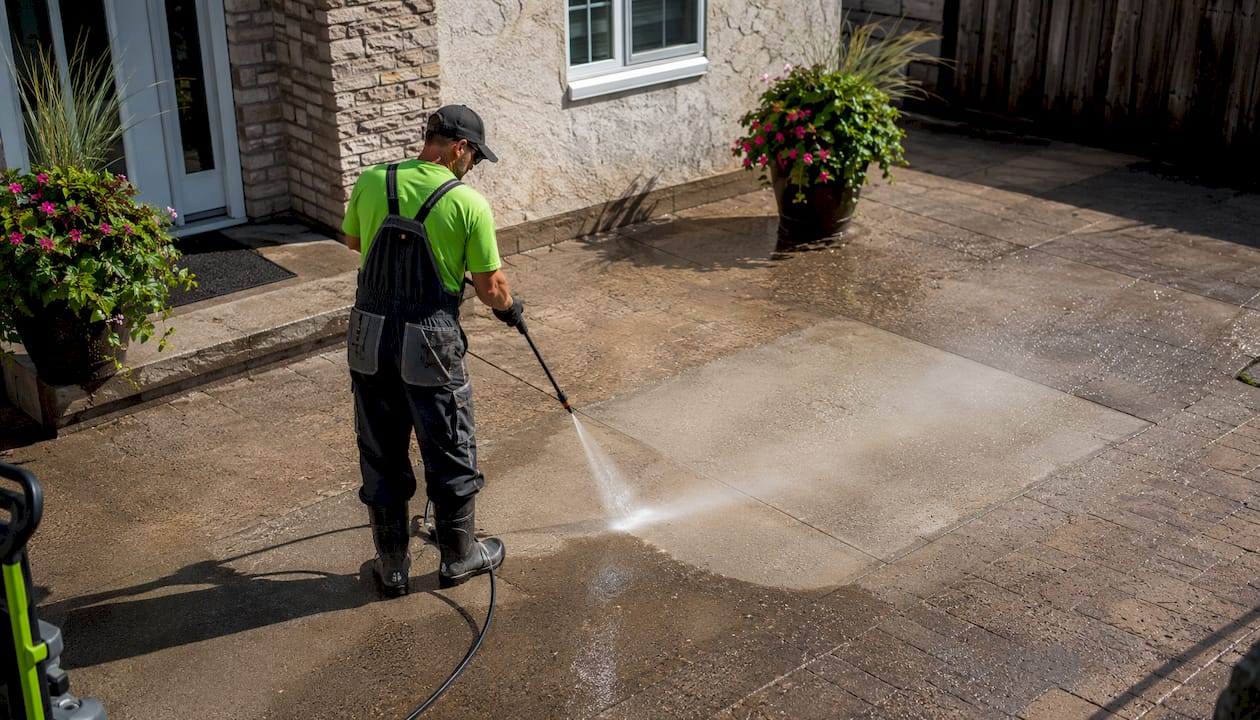
Most surfaces need several days to fully release moisture after cleaning. The exact window depends on porosity, shade, and local humidity. Florida’s humidity, for example, pushes drying times toward the longer end of that range.
| Surface | Rinse Sensitivity | Typical Drying Window | Notes |
|---|---|---|---|
| Asphalt shingles | Moderate | a day or two | Avoid directing rinse under shingle edges |
| Wood decking / siding | High | a couple of days | Excess pressure raises grain; rinse gently |
| Stucco / render | High | a couple of days | Porous; flush joints thoroughly |
| Painted / vinyl siding | Moderate | a day or two | Rinse residue before it dries on paint |
| Concrete / pavers | Low–Moderate | a day or two | Flush joints; seal after full drying |
| Glass and metal trims | High | around a day | Most vulnerable to white spotting from dried residue |
Trap zones deserve extra attention on every surface type. Window seals, drip edges, and gutter seams hold pooled chemistry longer than open faces. Plan a second targeted flush of these areas after the main rinse pass, especially on stucco and wood where joints are deep. For a surface-by-surface breakdown of common exterior materials, the sensitivities vary more than most homeowners expect.
What mistakes cause staining, plant damage, or water intrusion?
Most post-service complaints trace back to one of six operator errors.
- Skipping the rinse entirely on a rinse-required product. Chemistry keeps reacting, concentrates as it dries, and leaves a visible film or stain.
- Rinsing too late, after the product has already dried on the surface. Dried residue bonds differently and often requires a second treatment to remove.
- Using excessive pressure during the rinse. Higher pressure forces residue deeper into porous materials and can drive water behind siding or through seals. Chemistry does the cleaning; the rinse only removes what chemistry has already broken down.
- Skipping plant pre-wetting. Even biodegradable chemistry can disrupt soil pH and cause foliage burn. “Biodegradable” does not mean harmless to landscaping.
- Missing trap zones. Pooled chemistry in window seals, drip edges, and gutters dries and causes streak marks that run down the face of the building after the first rain.
- Mixing incompatible chemistry. Applying an acid-based cleaner over a surface still carrying alkaline residue, or vice versa, can cause surface etching or unexpected staining.
Understanding these failure modes is also useful when you are evaluating a contractor before the job starts.
Pro Tip: Before any contractor starts, ask three questions: What product are you using and does the label require a rinse? How do you protect my plants and landscaping? What is your containment plan for runoff? A professional will answer all three without hesitation.
What should you inspect after the rinse, and when do you call back?
Inspect once the surface is fully dry, which for most materials means waiting the full drying window. A wet surface hides residue, streaks, and spotting that become obvious once dry.
Prioritized inspection checklist:
- Residue or film: Run your hand across the surface. A sticky or chalky feel indicates chemistry that did not rinse off.
- White spots on metal trims: Classic sign of dried oxidizer or surfactant residue.
- Streak lines from trap zones: Vertical streaks below window seals or drip edges mean pooled chemistry was not fully flushed.
- Wilting or yellowing plants: Check foliage in the drip zone 24–48 hours after the job.
- New seepage at seals or joints: Water appearing inside window frames or at siding joints suggests rinse pressure was too high or directed incorrectly.
Call the contractor back when you find residue that does not wipe off with a damp cloth, any sign of water intrusion at seals or joints, or plant damage that appears within 48 hours of the service. Document everything with photos before contacting them. A well-structured cleaning checklist can help you track what to look for at each inspection point.
How Whitediamondpressurewashing implements post-rinse protocols
Whitediamondpressurewashing operates on a label-first, SDS-first decision process for every job in Citrus County and surrounding areas. Low-pressure technique, plant protection, and runoff containment are standard on every service, not add-ons.
Here is what you can expect on site:
- Technicians arrive with product labels and SDS sheets for every chemical used that day.
- Landscaping is pre-wetted before application begins and rinsed again after the structure is complete.
- Downspouts are bagged or redirected before the rinse pass starts.
- Neutralizer is applied where the label or SDS calls for it, particularly near metals and plant beds.
- A final walk-around inspection is completed before the crew leaves, with timestamped photos available on request.
- Booking language and estimates clearly state the products being used and the rinse protocol planned.
Customers who want documented verification or a follow-up visit can request both at the time of booking. The team’s soft washing process follows the same SDS-first framework described throughout this guide.
Key Takeaways
Following the product label and SDS is the single non-negotiable rule in every post-rinse protocol, and every other step flows from it.
| Point | Details |
|---|---|
| Follow the label and SDS | Rinse when the label says to; leave on only when it explicitly permits a slow-clean application. |
| Rinse before product dries | Immediate rinsing after dwell time prevents residue from bonding and causing staining or film. |
| Protect plants every time | Pre-wet foliage and soil before application; rinse the drip zone again after the structure is complete. |
| Inspect after full drying | Most surfaces need 24–72 hours to dry; inspect then for residue, white spots, streaks, and plant stress. |
| Whitediamondpressurewashing | Uses label-first protocols, pre-wetting, runoff containment, and documented walk-around inspections on every job. |
Why the rinse matters more than most people think
The rinse step gets treated as cleanup. It is not. It is the last moment a technician has to stop chemistry from doing damage, and it requires the same discipline as the application itself. What I watch for on every job is the trap zones — the spots where product pools and sits while the open faces look fine. Window seals, drip edges, the back edge of a gutter: those are where post-service complaints originate. Plant health is the other thing that tells you whether the rinse was done right. Foliage that wilts two days after a job is not a coincidence. At Whitediamondpressurewashing, we treat the rinse pass as seriously as the wash itself, and we are happy to walk through the SDS for any product we use before we start. Ask us.
Trained pros who follow every post-rinse step, every time
Whitediamondpressurewashing brings trained technicians to every job in Citrus County, each following SDS-first protocols, low-pressure rinse technique, and documented final inspections. You get plant protection, runoff containment, and a walk-around photo record without having to ask for it separately.

Property managers and homeowners can book on a schedule that works for them. Get a free estimate or review the full list of services at whitediamondpressurewashing.com/services, or go straight to whitediamondpressurewashing.com to book now.
Where to check product labels, SDS, and trusted guidance
When you need to verify rinse or neutralization requirements for a specific product, start here:
- Manufacturer product label: The primary source. Every cleaning product sold in the United States must carry rinse and safety instructions. Read it before the job, not after.
- Safety Data Sheet (SDS): Section 7 (Handling and Storage) and Section 8 (Exposure Controls) typically address rinse requirements and PPE. Request the SDS from your contractor before work begins, or download it directly from the manufacturer’s website.
- Manufacturer technical support: When the label is unclear, call the number on the container. Most manufacturers have a technical line staffed during business hours.
- Rinse and neutralization guidance: Industry-facing resources that explain when neutralizers are needed and how to apply them correctly near plants and metals.
- Post-cleaning inspection walkthroughs: Practical checklists for confirming a proper rinse and identifying problems before they become permanent.
On site, keep the SDS folded in a pocket or saved on your phone. If a question comes up mid-job, Section 7 and Section 8 give you the answer in under a minute.