TL;DR:
- A walkway cleaning checklist guides proper debris removal, stain treatment, pressure washing, and seasonal upkeep to maintain safety and appearance. Using appropriate tools, matching cleaning methods to materials, and promptly repairing damage can extend walkway lifespan and prevent costly repairs. Regular documentation of cleaning routines helps property managers reduce liability risks and ensure effective maintenance.
A walkway cleaning checklist is a structured maintenance plan that guides homeowners and property managers through every step needed to keep outdoor paths clean, safe, and visually sharp. The right checklist covers debris removal, stain treatment, pressure washing technique, and seasonal upkeep. Skip any step and you risk slippery surfaces, cracked pavers, and costly repairs down the road. This guide gives you a practical, material-specific outdoor cleaning checklist built around real methods, proven products, and the kind of hardscape care tips that actually hold up over time.
1. Walkway cleaning checklist: start with the right tools
The tools you choose determine how effective and safe your cleaning session will be. A basic DIY setup includes a stiff-bristle brush, garden hose, broom, and a leaf blower for debris. For tougher jobs, a pressure washer is the upgrade worth considering.
What you need for manual cleaning:
- Stiff-bristle scrub brush or deck brush
- Garden hose with a spray nozzle
- Push broom or leaf blower
- Bucket for mixing cleaning solutions
- Plastic sheeting to protect nearby plants
What you need for pressure washing:
- Electric or gas pressure washer
- Wide-angle nozzle (25-degree or 40-degree tip)
- Surface cleaner attachment for large flat areas
- Safety goggles and closed-toe shoes
A basic DIY cleaning setup costs under $25 using dish soap, a stiff brush, vinegar, and baking soda. Pressure washers range from $160 to $400 for consumer models. That price gap matters if you only clean once or twice a year. Renting a pressure washer from Home Depot or Lowe’s for $40 to $75 per day is often the smarter call for occasional use.
Pro Tip: Cover all plants and shrubs within three feet of your walkway with plastic sheeting before you apply any cleaner. Wet surrounding areas first to dilute any chemical runoff and protect your landscaping.
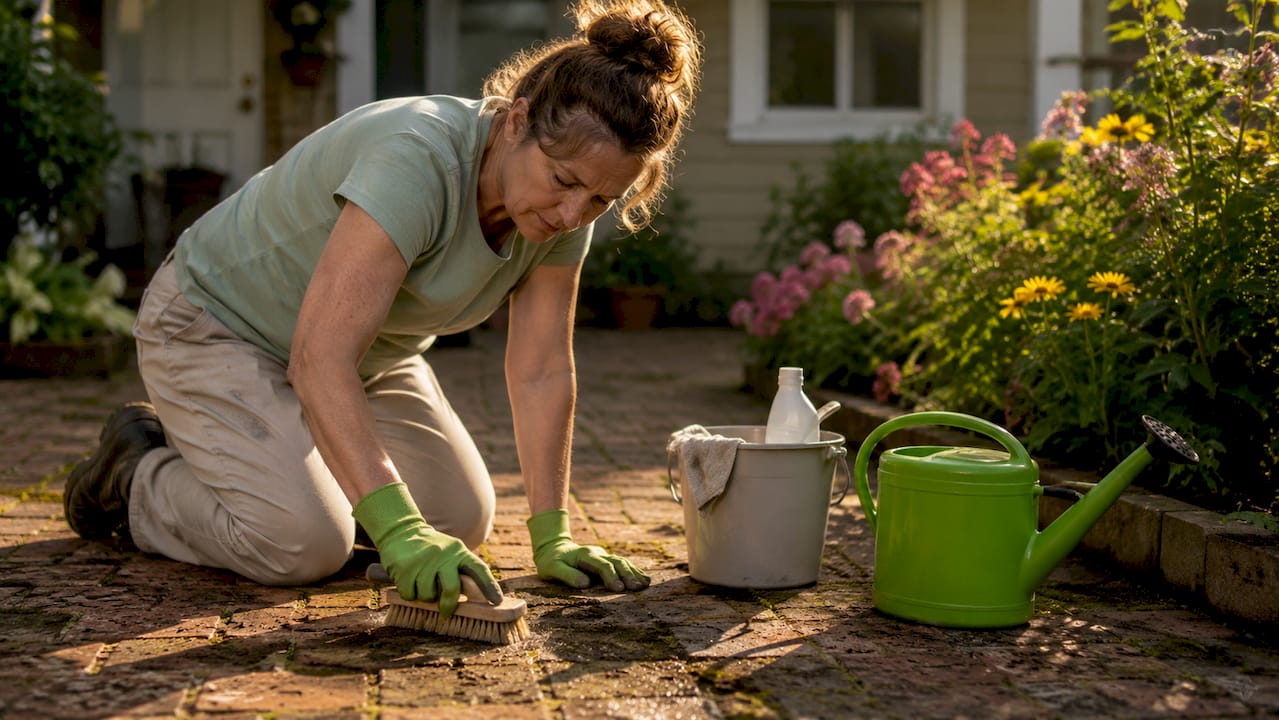
2. Clear debris before you apply any cleaner
Debris removal is the first physical step in any walkway maintenance guide, and skipping it wastes both water and cleaning product. Leaves, dirt, and organic matter sitting on the surface will turn into a muddy paste the moment you add liquid.
Use a push broom or leaf blower to clear the entire path from end to end. Pay close attention to edges where debris collects against borders, grass lines, or garden beds. Once the surface is clear, do a quick visual scan for loose stones, raised pavers, or obvious cracks. Note them now so you can address them after cleaning.
Sweeping walkways weekly prevents organic matter buildup that stains surfaces and encourages moss growth. That one habit alone reduces how hard you have to work during a full cleaning session.
3. Pre-treat stains before washing
Pre-treatment is what separates a surface that looks clean from one that actually is clean. Different stains respond to different agents, so applying the right product before scrubbing or rinsing saves you significant effort.
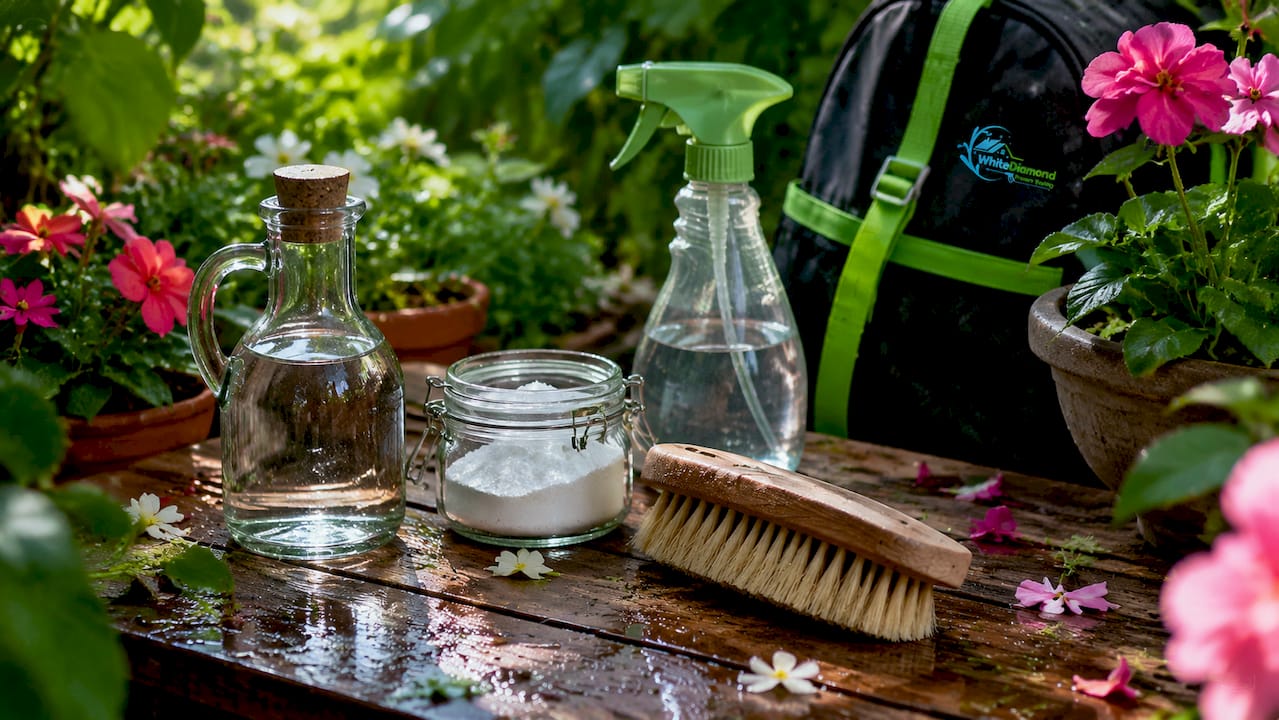
A vinegar and water mixture at a 1:3 ratio handles most general stains safely and is biodegradable. Baking soda works well on grease and oil when applied dry and left to absorb for 10 minutes before scrubbing. Oxygen bleach, sold under brands like OxiClean, is a safe alternative for algae and mold without the harshness of chlorine bleach.
Apply your chosen cleaner, let it dwell for 5 to 15 minutes depending on stain severity, then scrub with a stiff brush before rinsing. Never let acidic cleaners like vinegar sit on natural stone for more than a few minutes. Acid etches limestone and marble quickly.
4. Pressure wash with the correct PSI and technique
Pressure washing is the most powerful tool in your cleaning arsenal, but it causes real damage when used incorrectly. The technique matters as much as the machine.
Set your pressure washer to under 1,500–2,000 PSI for concrete and pavers. Keep the nozzle 12 to 24 inches from the surface and move in smooth, even strokes. Never hold the spray in one spot. That creates etching and erosion marks that are permanent.
Use a 25-degree or 40-degree wide-angle nozzle for flat surfaces. Avoid zero-degree or 15-degree nozzles on walkways entirely. Those are for stripping paint, not cleaning paths. For brick and paver joints, keep the wand moving at a consistent pace to avoid blasting out the sand between stones.
Pro Tip: Work from the highest point of the walkway downward so dirty water flows away from already-cleaned sections. This one adjustment cuts your total cleaning time noticeably.
5. Rinse thoroughly and inspect for damage
Rinsing is not optional. Cleaning solution left on the surface attracts dirt faster and can degrade sealants or stain lighter-colored stone. After pressure washing or scrubbing, rinse the entire path with a garden hose on a wide spray setting.
Once the surface is rinsed and still wet, look for cracks, uneven joints, or stones that have shifted. Wet surfaces reveal problems that dry surfaces hide. Mark any issues with chalk or tape so you can address them before they worsen.
Inspecting twice yearly helps identify cracks, loose materials, and uneven surfaces that pose safety hazards. Addressing minor cracks early with a concrete filler or polymeric sand prevents larger, more expensive repairs later.
6. Match your cleaning method to the walkway material
Not all walkways clean the same way. Stone, concrete, brick, and pavers each have specific tolerances for pressure, chemicals, and scrubbing intensity. Using the wrong method damages the surface and shortens its lifespan.
| Material | Safe PSI range | Recommended cleaner | Avoid |
|---|---|---|---|
| Concrete | 1,500–3,000 PSI | Oxygen bleach, dish soap | Acidic cleaners on colored concrete |
| Brick | 500–1,000 PSI | Mild detergent, vinegar solution | High pressure near mortar joints |
| Natural stone | 500–1,200 PSI | pH-neutral stone cleaner | Vinegar, bleach, acidic products |
| Pavers | 1,000–1,500 PSI | Paver-specific cleaner | Concentrated bleach on colored pavers |
Dry-laid stone walkways use polymeric sand joints that need reapplication every 2 to 3 years. Mortar-based walkways require gentler cleaning to avoid cracking the grout lines. For specialized natural stone surfaces, professional stone cleaning services use pH-controlled methods that protect the material while removing deep staining.
Apply a penetrating sealant after cleaning pavers or concrete every 2 to 3 years. Sealant blocks moisture, resists staining, and makes future cleaning sessions significantly easier.
7. Remove algae, moss, and mold safely
Algae, moss, and mold are the most common biological hazards on walkways. They thrive in shaded, damp areas and create surfaces that are genuinely dangerous underfoot.
Oxygen bleach dissolved in warm water is the safest broad-spectrum treatment for all three. Apply it with a garden sprayer, let it dwell for 15 to 20 minutes, then scrub and rinse. For heavy moss on stone or brick, a stiff brush and repeated treatments work better than high pressure, which can dislodge mortar.
Regular maintenance reduces liability risks by eliminating slipping hazards caused by algae and moss. Property managers who document cleaning schedules have a documented defense against fall-related lawsuits. That is a real legal protection, not just a best practice.
8. Seasonal maintenance and winter safety tips
Walkway care changes with the seasons. What works in summer can cause damage in winter, and what you skip in fall shows up as a problem in spring.
Year-round maintenance schedule:
- Spring: Full cleaning session, inspect for winter damage, reapply sealant if needed
- Summer: Monthly sweeping, spot-treat stains, check for weed growth in joints
- Fall: Clear leaves weekly to prevent staining and moss growth, inspect drainage
- Winter: Remove snow with a plastic shovel to avoid scratching surfaces
Avoid rock salt on pavers, brick, and natural stone. Salt accelerates surface erosion and damages mortar joints over one to two seasons of use. Use sand or a calcium magnesium acetate product instead for traction on icy surfaces.
For property managers, a documented cleaning schedule is standard practice to reduce liability from fall-related incidents. Keep a simple log with dates, methods used, and any repairs made. That record has real value if a liability claim ever arises.
9. Repair minor damage before it becomes major
Cleaning reveals problems. The step most homeowners skip is fixing what they find. A small crack left untreated through one winter becomes a trip hazard and a costly repair by spring.
Fill hairline cracks in concrete with a concrete crack filler from brands like Quikrete or Sakrete. For pavers, replace individual stones that have cracked or settled unevenly rather than patching over them. Reapply polymeric sand to joints that have eroded. This step takes 30 minutes but extends the life of the walkway by years.
Check that the walkway still drains correctly after repairs. Water pooling on the surface accelerates biological growth and freeze-thaw damage in colder climates. A slight slope of one quarter inch per foot away from the house is the standard for residential walkways.
Key takeaways
A complete walkway cleaning checklist combines the right tools, material-specific methods, and consistent seasonal upkeep to protect both safety and property value.
| Point | Details |
|---|---|
| Start with the right tools | A stiff brush and vinegar solution handle most stains for under $25 before reaching for a pressure washer. |
| Match method to material | Concrete, pavers, brick, and stone each require different PSI levels and cleaning agents to avoid damage. |
| Pre-treat stains first | Letting a cleaner dwell for 5 to 15 minutes before scrubbing removes stains that rinsing alone cannot. |
| Inspect and repair after cleaning | Wet surfaces reveal cracks and uneven joints. Fix them immediately to prevent larger repairs later. |
| Document your schedule | Property managers and homeowners who log cleaning dates reduce liability risk and extend walkway lifespan. |
What I have learned from years of watching homeowners clean walkways
The most common mistake I see is homeowners going straight to maximum pressure on a brand-new pressure washer. They assume more force means cleaner results. It does not. It means etched concrete, blown-out paver joints, and a surface that looks worse than before. The role of water pressure in exterior cleaning is about precision, not power.
The second mistake is treating all walkways the same. A concrete driveway apron and a dry-laid bluestone path need completely different approaches. I have seen beautiful stone walkways stripped of their finish because someone used the same technique they use on their driveway. That damage is not reversible.
What actually works is a checklist you customize to your specific surface, your local climate, and your cleaning frequency. Citrus County homeowners deal with humidity, algae, and year-round organic growth that homeowners in drier climates simply do not face. A checklist built for Minnesota winters does not serve you here.
The cost argument for regular upkeep is straightforward. A $25 cleaning session twice a year prevents a $500 to $2,000 repair bill from neglected cracks, eroded joints, or surface damage. The benefits of preventative exterior cleaning are not abstract. They show up directly in what you do not have to pay for.
— Bobby
Let Whitediamondpressurewashing handle the hard work
Following a walkway cleaning checklist takes time, the right equipment, and knowledge of your specific surface material. When the job is bigger than a DIY session can handle, Whitediamondpressurewashing brings professional-grade soft washing and low-pressure techniques to residential and commercial properties across Citrus County.

Whitediamondpressurewashing uses industry-approved methods that clean thoroughly without damaging pavers, stone, or mortar joints. The team handles everything from algae removal to post-cleaning sealant application. Get a free estimate and see what a professional exterior cleaning service can do for your property’s safety and curb appeal. Flexible scheduling and eco-friendly products make it easy to get the job done right.
FAQ
What is a walkway cleaning checklist?
A walkway cleaning checklist is a step-by-step guide covering debris removal, stain pre-treatment, washing technique, rinsing, and seasonal maintenance. It helps homeowners and property managers clean paths systematically without missing steps that cause long-term damage.
How often should you clean a walkway?
Most residential walkways benefit from a full cleaning twice a year, in spring and fall, with weekly sweeping in between. High-traffic or shaded walkways prone to algae may need cleaning three to four times per year.
What PSI is safe for cleaning pavers?
Use 1,000 to 1,500 PSI with a wide-angle nozzle kept 12 to 24 inches from the surface. Higher pressure blasts out the polymeric sand between joints and can crack thinner paver materials.
Can vinegar damage a stone walkway?
Yes. Vinegar is acidic and etches natural stone surfaces like limestone, marble, and travertine. Use a pH-neutral stone cleaner on natural stone and save the vinegar solution for concrete or brick.
How do property managers reduce walkway liability?
Property managers document cleaning schedules with dates, methods, and any repairs made. That written record serves as evidence of due diligence if a slip-and-fall incident leads to a legal claim.