

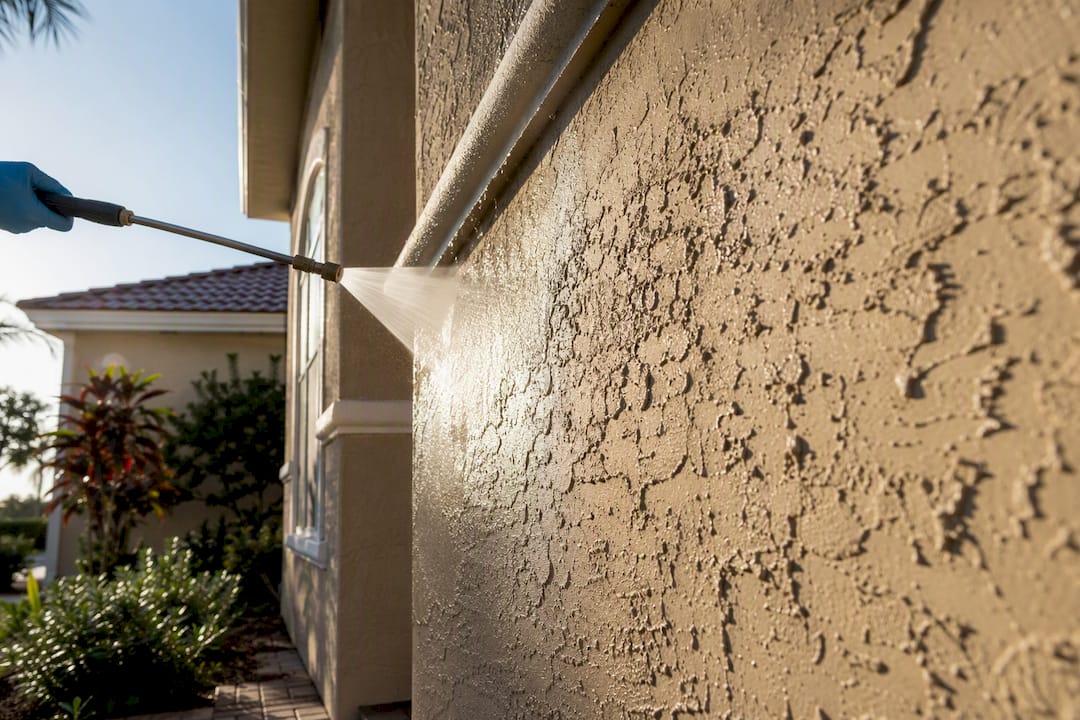
Yes, pressure washing can permanently damage stucco. High PSI, narrow nozzles, and close spray distance chip the finish, etch the texture, and drive water behind the surface. If you’ve already run a machine over your walls and see chips, wet patches, or peeling, stop immediately, photograph the area, and skip any further rinsing until you’ve read through the inspection and repair steps below.
TL;DR:
- High-pressure washing at the wrong settings can cause permanent chips, etching, and water intrusion, especially for fragile EIFS stucco systems.
- Use soft washing with low PSI, a wide nozzle, and a 10-inch distance to prevent damage, and always inspect for cracks before cleaning.
- Photographs and detailed documentation of existing damage and equipment settings are crucial for proper assessment and future repairs.
- Large or water-damaged areas require professional re-coating rather than DIY patching, as improper repairs won’t restore the surface.
- Always verify stucco type before cleaning and prefer professional soft washing services to avoid costly damage and repairs.
Table of Contents
- Immediate Checklist After Suspected Pressure-Wash Damage
- Why Pressure Washing Hurts Stucco
- How to Safely Clean Stucco Without Damaging It
- How to Inspect and Repair Stucco After Pressure Washing
- When to Call a Professional Stucco Cleaner
- How White Diamond Pressure Washing Approaches Stucco
- What Most Stucco Cleaning Advice Gets Wrong
- Get a Safe Soft-Wash Estimate for Your Stucco
- Sources
- FAQ
Immediate Checklist After Suspected Pressure-Wash Damage
Before anything else, get the equipment away from the wall. Every minute you keep spraying an already-compromised patch pushes more water where it doesn’t belong.
- Turn off the pressure washer and step back from the wall; don’t spray the same spot again to “check” it.
- Photograph the damage from a distance and up close, and note the date, time, and PSI setting if you know it.
- Look for wet spots, bulging, peeling paint, or bare patches where the finish coat is gone.
- Cover nearby vents and protect landscaping, outdoor outlets, and light fixtures from further overspray.
- If you notice staining or dampness on interior walls near the cleaned area, shut off any affected circuits and call an electrician or contractor before doing anything else.
That documentation matters more than most homeowners realize. A contractor assessing the damage later will want to know exactly what settings caused it.
Why Pressure Washing Hurts Stucco
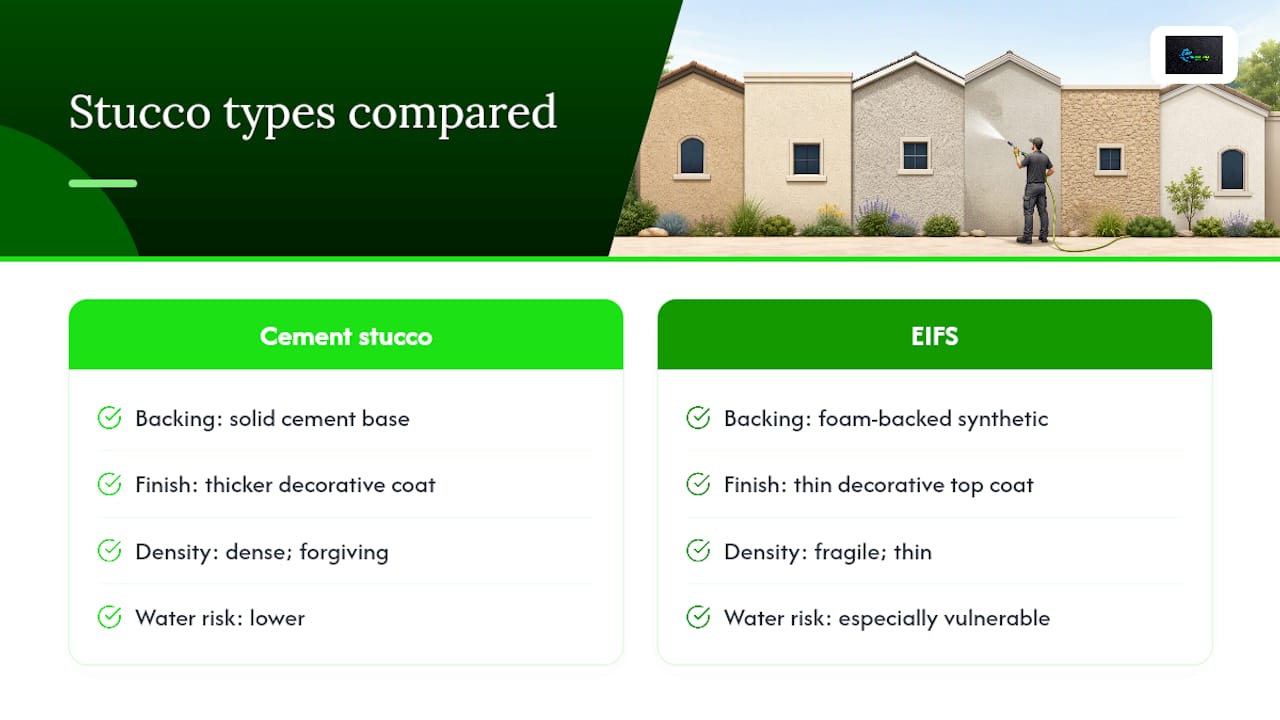
Stucco isn’t one material. Traditional cement-based stucco is dense and somewhat forgiving. Exterior Insulation and Finish Systems, better known as EIFS, are a foam-backed synthetic system with a thin, decorative top coat, and they’re far more fragile. EIFS is especially vulnerable to water intrusion, so if you’re not sure which type you have, treat your walls as EIFS until a professional tells you otherwise.
The mechanics of the damage are straightforward. High PSI combined with a narrow nozzle concentrates force into a tight stream, and holding that stream too close, or angling it upward into seams and trim, chips the textured finish and etches lines into the surface. Improper pressure washing on stucco commonly causes surface pitting, hairline cracking, and water intrusion behind the wall system, and each of those problems compounds the others. Water that gets behind the stucco has nowhere to go, which sets up conditions for mold and, eventually, rot in the framing underneath.
Some of this is visible right away, like an etch mark or a chipped patch of texture. Some of it isn’t. A hairline crack that widens slightly under pressure might not leak for weeks. Industry specialists warn that etching and finish loss are often permanent without a full re-coat, because you can’t un-etch a textured surface. You can only resurface it.
How to Safely Clean Stucco Without Damaging It
Soft washing should be your default, not your backup plan. It relies on cleaning chemistry to break down algae, mildew, and grime at the surface level, then a gentle rinse to carry it away. Soft washing typically runs under 100 PSI and pairs low pressure with dwell time instead of brute force. Chemistry does the work; water just finishes the job.
Low-pressure washing has a place, but only on sound, traditional cement stucco with no existing cracks or finish loss. If you go this route:
- Confirm your stucco type and check the whole wall for cracks, bulges, or soft spots before you turn on the machine.
- Fit a wide-angle nozzle, around 25 to 30 degrees, to spread the water force over a larger area instead of concentrating it. Bob Vila recommends this nozzle range specifically to disperse pressure on siding and stucco.
- Keep the wand at least 10 inches from the surface and hold it at a 45-degree angle, never straight on. Lowe’s advises this exact distance and angle for stucco, and it’s the single easiest rule to remember.
- Apply detergent from the bottom up so it doesn’t streak, let it dwell for several minutes, then rinse from the top down.
- Pre-wet nearby plants and use a biodegradable cleaner, since runoff from harsh chemicals can scorch landscaping if it isn’t rinsed thoroughly.
Pro Tip: Spot-test any detergent and pressure setting on a small, hidden section of wall first. If the color or texture changes even slightly, stop and drop your PSI before touching the rest of the house.
Rental machines are where most DIY damage starts. Consumer pressure washers often default to 2,500 to 3,000 PSI or higher, which is well beyond what stucco can take without a soft-wash adapter. If your rental unit doesn’t have one, don’t use it on stucco at all. Our guide to safe PSI settings and nozzle selection for stucco walks through the specifics in more detail.
How to Inspect and Repair Stucco After Pressure Washing
Walk the wall slowly and look for four things: surface chips where the texture is missing, straight etched lines that follow the pattern of the wand, hairline cracks that look wider than before, and any bulging or soft, damp-feeling patches. Photograph each one before you touch anything.
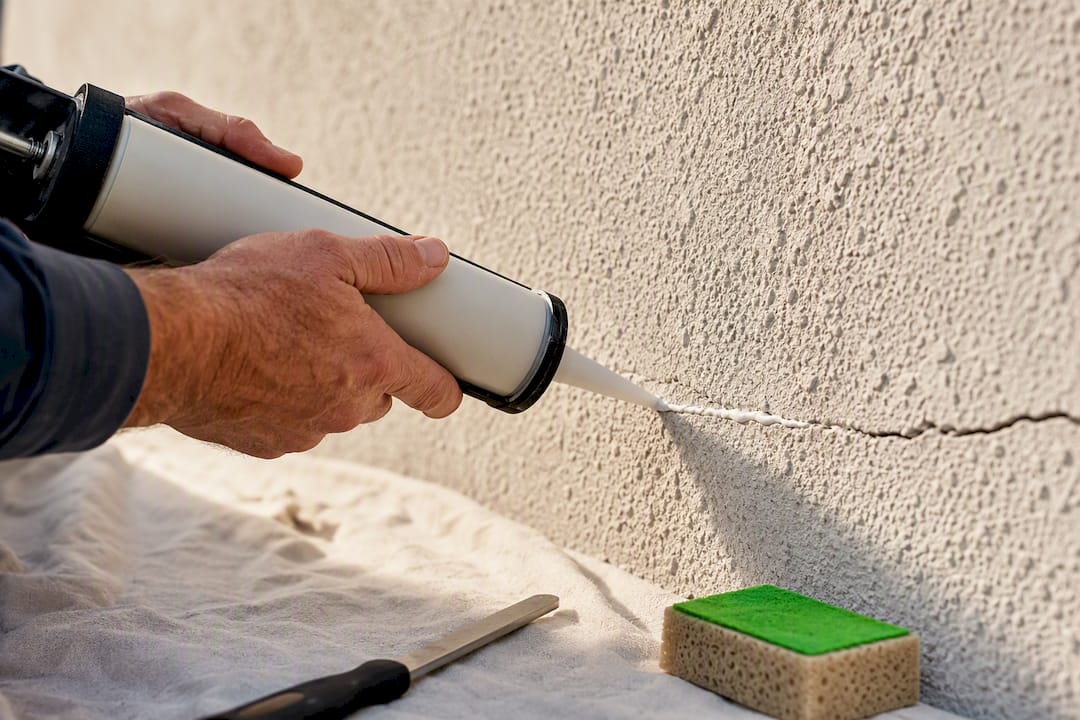
Minor cosmetic issues are fixable. Hairline cracks can be sealed with an elastomeric caulk designed to flex with the wall instead of cracking again. Small chips can be filled with a patch kit matched to your existing texture, feathered out at the edges so the repair doesn’t stand out. Cracks should be repaired and fully cured, sometimes up to a week, before any further cleaning or detergent application, because rushing this step is one of the most common DIY mistakes. Patching over a wet or uncured area just traps moisture behind the new material.
Wider damage is a different story. If the finish coat is gone across a large section, if you see etching in multiple spots, or if you suspect water has already gotten behind the wall, that’s a professional re-coating job, not a weekend patch. Painting over unrepaired texture problems just highlights them once the sun hits at an angle.
When to Call a Professional Stucco Cleaner
Some situations aren’t DIY-friendly no matter how careful you are. Call a professional if:
- You have or suspect EIFS siding, since it’s not built to handle even moderate pressure.
- You already see water stains, bulging, or damp drywall on the interior side of an exterior wall.
- Damage covers a large area, or it’s on a second story or anywhere hard to reach safely.
- You’re not confident in identifying your stucco type or its current condition.
When you’re vetting a contractor, ask specific questions instead of just requesting a quote. What PSI do they actually run on stucco, and do they soft wash by default? What chemicals do they use, and are they safe for landscaping? Are they insured, and what’s their approach if something goes wrong mid-job? Share your photos and any equipment settings you already tried, since that history helps them assess faster. Compare bids on those answers, not just the number at the bottom, because the cheapest quote from someone running a rental machine at full pressure isn’t actually cheaper once you’re paying for a re-coat.
How White Diamond Pressure Washing Approaches Stucco
The process is built around soft washing and low-pressure techniques specifically because stucco, roofs, and painted siding don’t forgive careless equipment settings. The step-by-step soft-washing process follows a sequence pros rely on: inspect and document the surface first, protect vegetation and openings, apply cleaning chemistry from the bottom up, let it dwell, rinse top-down at low pressure, then check again for any hidden moisture before calling the job finished. That sequence mirrors the same safe-cleaning order covered above, and it’s the reason a soft-wash-first approach keeps showing up throughout this guide instead of “just turn down the pressure a little.”
What Most Stucco Cleaning Advice Gets Wrong
Most guides treat PSI as the whole story. It isn’t. Nozzle angle, spray distance, and dwell time matter just as much, and skipping any one of them can undo the benefit of dialing back your pressure setting. A homeowner running 800 PSI through a narrow tip six inches from the wall is doing more damage than someone running 1,200 PSI through a wide fan nozzle held a foot away.
The other blind spot is treating stucco cleaning as a one-time event instead of ongoing maintenance. Algae and mildew come back faster on stucco that’s already been etched, because the roughened surface holds moisture and organic matter more easily than smooth, intact texture. That’s the quiet cost of a bad wash: not just the visible chip, but a wall that’s now more vulnerable to the next round of growth. Prevention beats correction here, every time. If your stucco has never been professionally soft washed, that first inspection is worth more than any cleaning technique you could try yourself.
— Bobby
Get a Safe Soft-Wash Estimate for Your Stucco
If your walls have never had a proper inspection, or you’re staring at a chip and wondering whether it’s fixable, a soft-wash specialist who checks your stucco type before touching a nozzle is worth more than a bargain quote. The surface is inspected first, safe PSI is verified for your specific walls, the soft-wash process is run instead of defaulting to brute force, and referrals to repair specialists are made when a job needs more than cleaning. A service call typically starts with a walk-around, a conversation about what you’re seeing, and a straight answer about whether soft washing or a repair referral makes more sense. If you want that inspection before your next cleaning, request a free estimate and get a plan built around your actual walls, not a generic setting.
Sources
- How to clean stucco — Lowe’s
- How to pressure wash a house — BobVila
- Can you pressure wash stucco? — Diamond Power Washers
FAQ
Is It Bad to Pressure Wash Stucco?
It can be, if the pressure is too high or the nozzle is held too close. Soft washing or carefully controlled low-pressure washing at a safe distance and angle avoids most of the risk.
What Are the Common Causes of Stucco Damage?
Beyond pressure washing, stucco damage usually comes from age-related cracking, foundation settling, poor original installation, or prolonged water exposure. Pressure washing adds to that list when PSI is too high or the wand is held too close for too long.
Can Pressure Washing Concrete Damage It?
Concrete tolerates much higher pressure than stucco, but it can still pit, etch, or lose its top layer if the PSI is too aggressive or the nozzle sits in one spot too long. It’s more forgiving than stucco, not damage proof.
Can I Pressure Wash My Stucco House?
You can, on sound traditional stucco, if you use a wide-angle nozzle, keep the wand at least 10 inches away at a 45-degree angle, and confirm your walls aren’t EIFS. If you’re unsure of the stucco type or see existing cracks, soft washing or a professional assessment is the safer route.
One thought on “Homeowners, Avoid Stucco Damage: Use Soft Wash Under 100 PSI”